Sunday, April 30, 2023

Ducati Diavel Titanium Edition - Maintenance

Wanted to get all the maintenance up to speed. The Diavel calls for new timing belts at 15k miles or 5 years whichever comes first. Bike has less than 6k miles on it but it's a 2015 so at 8 years and no history of it being done figured it's due. It might have snow balled into other 'while I'm in there might as well' maintenance items. 

This is a list of everything I had planned on doing:    
    - Timing Belts
    - Thermostat
    - Coolant
    - Air Filter
    - Spark plugs
    - Polish displays and PPF them
    - Deep clean and condition
    - Clean, prep and refinish the exhaust
    - Oil & filter change
    - Clean and lube chain
    - Adjust chain tension
    - Flush Front and Rear Brake Fluid
    - Flush Clutch Fluid

Followed the manual to replace everything. For the timing belt I used an app called Frequency Measurement App by JonyM for android. I tried multiple apps but liked this the best.  


Best way I found to do the thermostat was to remove the coolant line that runs vertically into the thermostat from the connector under the seat. 


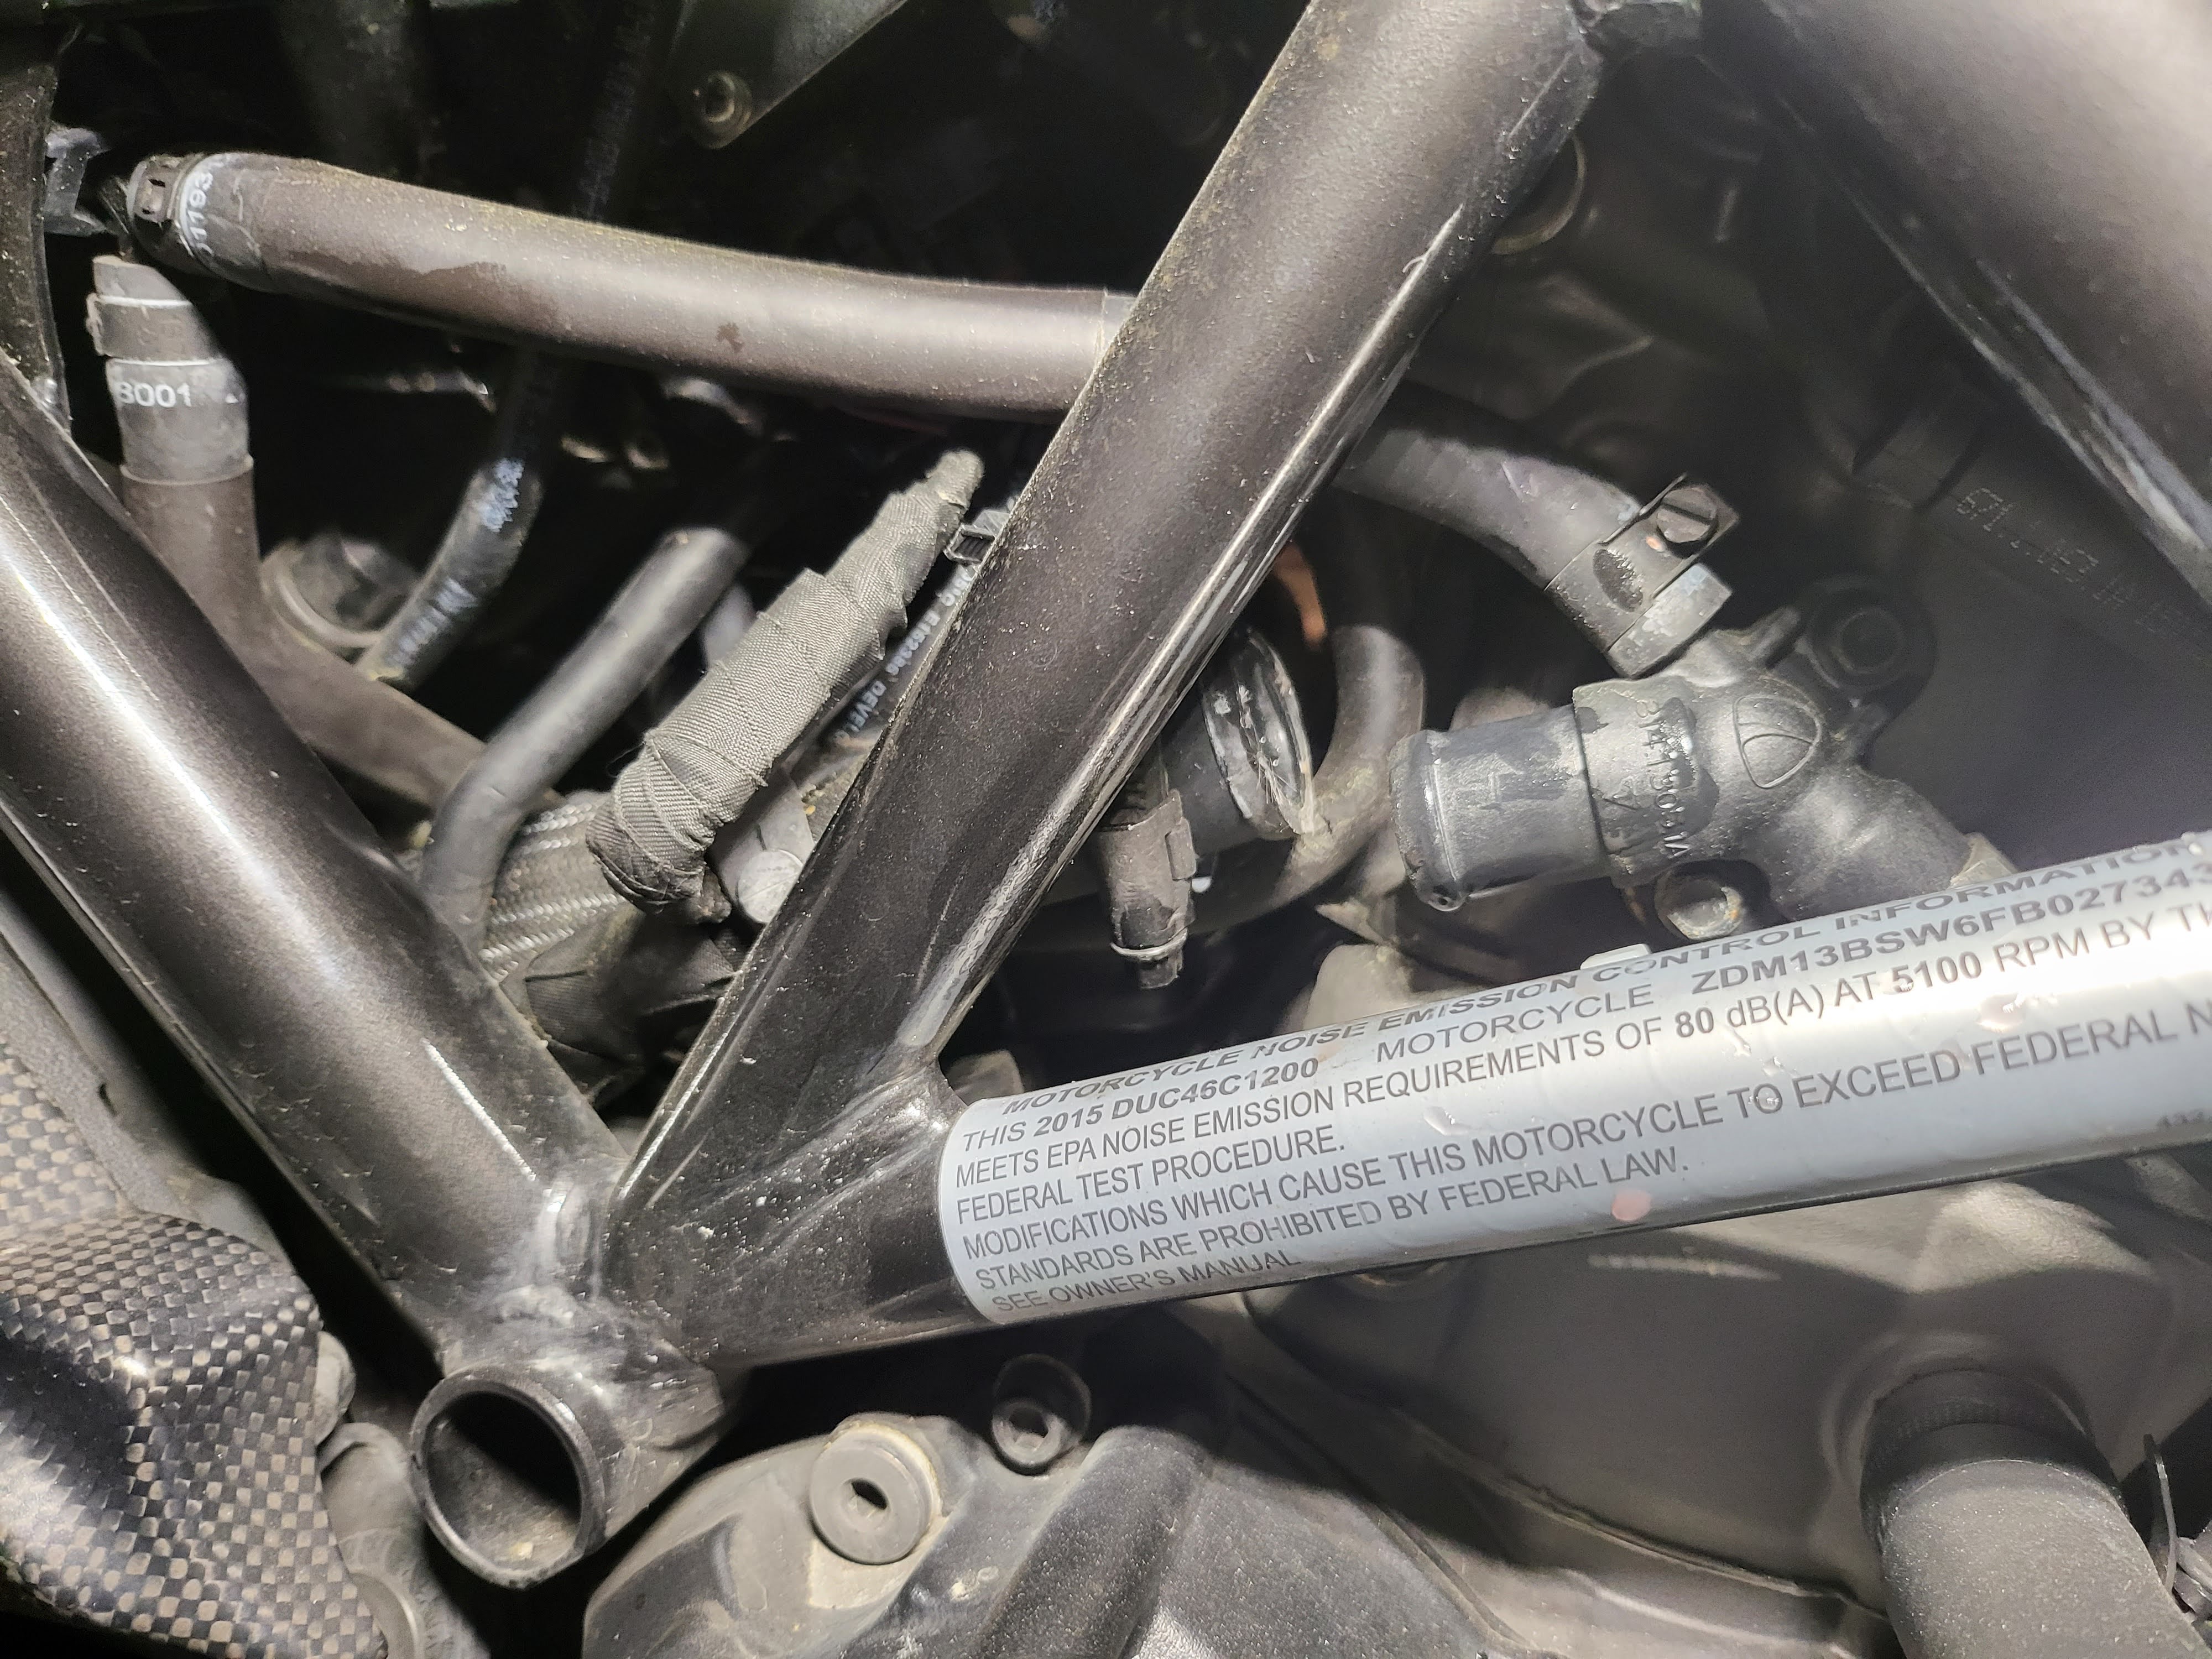
After that is done, the horizontal left and right lines running into the thermostat can be undone. The thermostat can then be pulled down and the vertical line into the thermostat can be undone. Reverse steps to install the new thermostat. 


Filled up the radiator and overflow tank, cranked up the bike and let it warm up. The coolant cycles through and while the bike is warm I did an oil and filter change. After the bike cools down, check and top off coolant. 


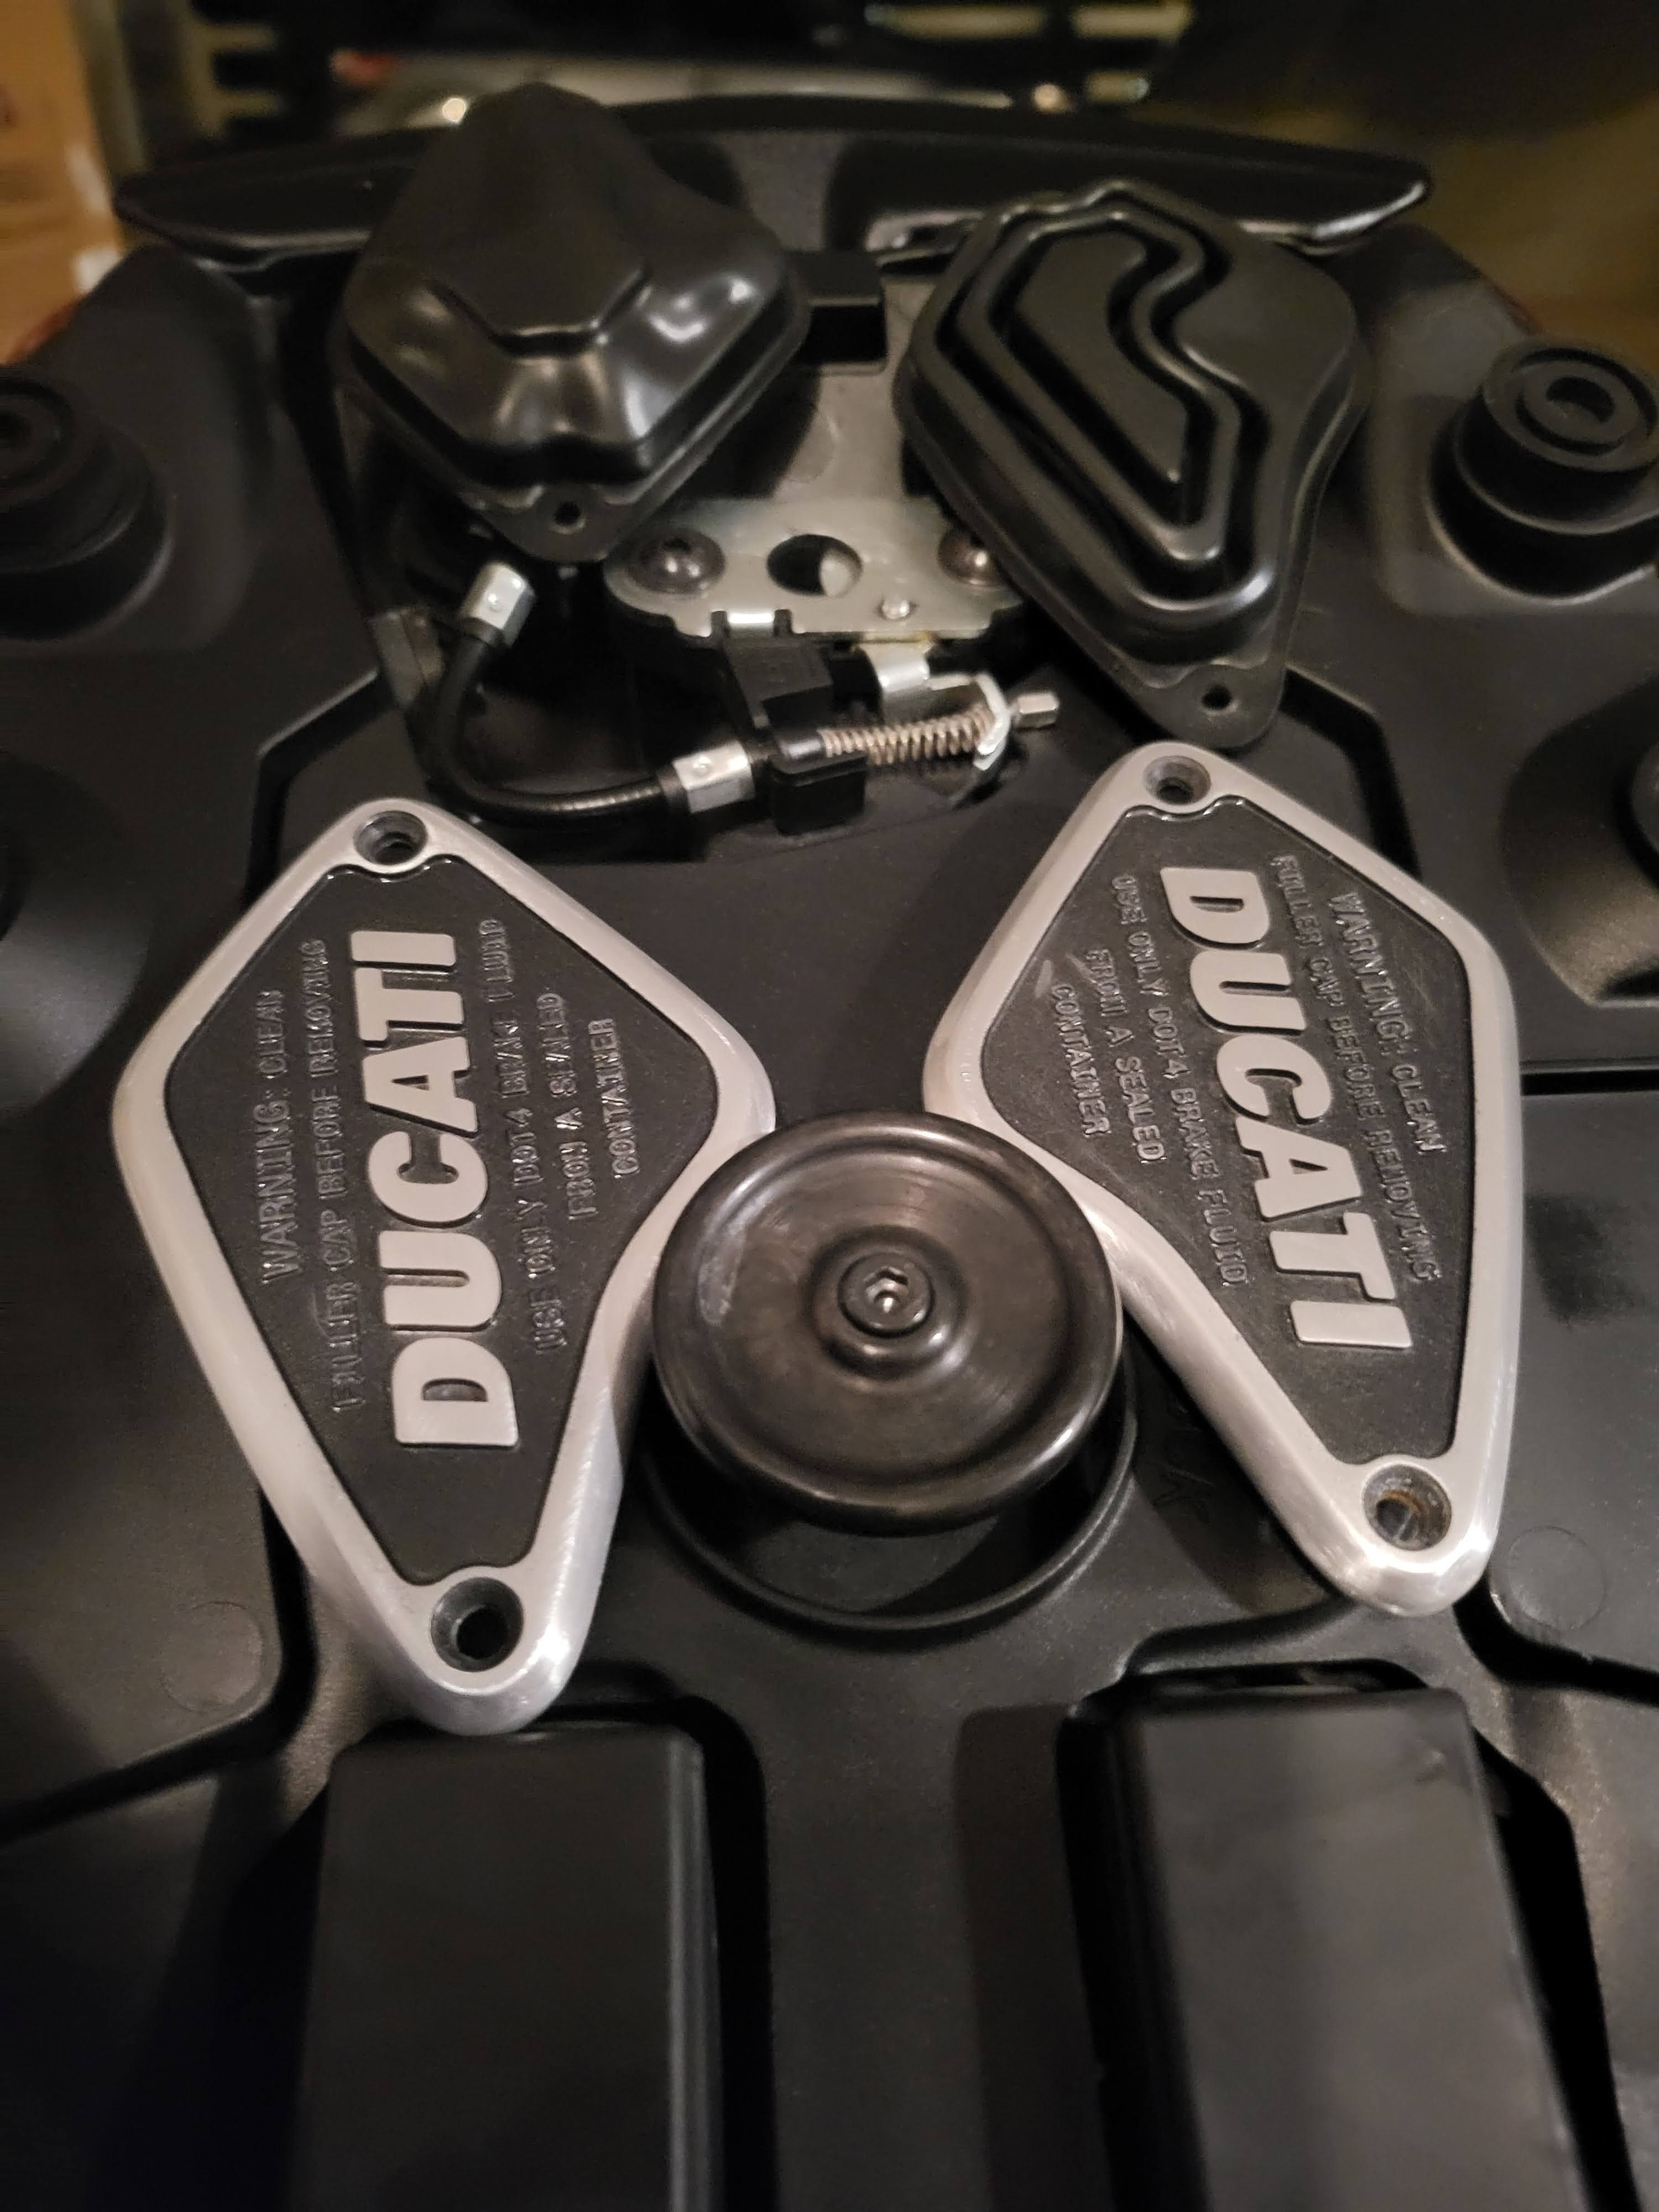
Next up was addressing the brake and clutch fluid. The reservoir cap had some paint peeling so decided to sand off the the edges of the aluminum covers. I used 180 grit sand paper and moved up to 220, 400 and 600 came out pretty well.   


Used a power brake bleeder which made things a lot easier.


Service manual calls for wheel removal and slip the caliper from the bottom of the rotor to the top. This is so that air can travel to the top for bleeding. Manual was also referring to a manual bleed method where you press on the brakes a couple of times and then while holding the brake down crack the bleed valve. I'm not sure if these steps were necessary when using a power bleeder but I did it anyway, better safe than sorry. I zip tied the front and rear brake levers to the engaged positions so as to give any air to escape over time.  


Going to give a good detail on the bike, clean, lube and adjust chain and then I should be good to go on the maintenance front for now I believe. 


Follow me on Instagram:
@flawless_fitment
@aj_ls460
@aj_lx470 
@aj_sc430 

Sunday, April 16, 2023

Ducati Diavel Titanium Edition - Fairings Restoration

This is a 2015 Ducati Diavel Titanium edition and on initial inspection it looked like the paint on it was flaking off/fading in different areas. There was a bare spot on the tank where the paint had chipped off and it looked brushed. The titanium edition meant that the tank, fairings etc. were made of titanium. All the paper work, titanium special edition paper work etc. matched the VIN#  so I was not sure why this looked the way it did. Did some more digging and found out that when these were made the titanium pieces got a mix of brushed and media blasted steps for the overall look. Also found out that the if these were not stored indoors mostly and not waxed or coated the clear coat used to protect the effects on the titanium prematurely failed and  basically starts delaminating slowly. This bike had the same issue and was painted over because of how labor intensive it would be to get it back to a factory finish. 

Pictured below is how the bike started out looking.


I wanted to bring this back to a factory fresh look if possible. To do so I would have to take all the pieces down to bare metal. I initially tried lacquer thinner, this took off a lot of the bare paint which were not clear coated. I guess the previous painter was trying to maintain a matte finish mixed in with a glossy finish to achieve a similar look of the stock bike. After most of the paint was removed this was what I was left with. Notice the edges still had some of the factory coating and the finish did not look like factory. Probably because it was was sanded etc. in prep for the paintjob. 


I did not want to sand the parts any further and wanted to use the least abrasive methods to try to refinish these parts. I used some aircraft stripper and since their new formula is no where as affective as their old one I coated the parts, covered it in plastic and let it sit overnight. I used a plastic blade to help scrape off the paint. Also covered all the surrounding area with vinyl tape so they wouldn't get damaged. This was working, slowly but all the old coating was coming off. 


Had to do this stripping process a total of three or four times to completely get rid of all the coatings and was left with this.


Once it was all down to metal I experimented with different grits of sandpaper to try to get the factory brushed look and I was happy with how 600 grit sandpaper made the brushed look appear. So all the areas that were brushed I used a soft block and 600 grit and tried to keep the sanding lines as even as possible. With the brushed look achieved I went on to mask the areas to achieve the factory look. Used some 1/4" precision tape and vinyl tape to protect all the areas that were brushed. 


Now I had to achieve the matte look on the rest of the areas. For this I thought using a sand blaster would work. Using the right media was important though using any angular media would I thought would be too aggressive and would not give the smooth consistent look I was going for. I used glass media, they give you a smoother more consistent finish because of their non-angular nature. This was the result after doing so:


Super happy with how things are turning out. This is a project I do on my spare time and it is time consuming. Also I do not have all the tools needed at home, I am fortunate to have friend with tools that I can use though. In scheduling the use of the blaster I did not have the Ducati logo ready for the side of the tank. It was an extra step but I had already measured the factory logo and asked another friend with a vinyl cutter to cut the negative of the logo. Placed the vinyl where the logo needed to be and went back to have that blasted. Couple of spots were the vinyl got blasted through needed to be touched up but overall happy with how everything turned out.


After media blasting the pores of the metal houses a lot of metal grains in the pits so prep is key before clear can be applied. Started out with using pressurized air to blast away any of the embedded debris. This was followed by multiple washes with a degreaser, I used Dawn platinum (the good stuff) and a fresh microfiber rag. Right before clear coat was applied I used a bare metal prep solvent to do a final wipe down of all the parts. 


The factory finish on these pars is a flat finish so once the clear cures I will probably wrap all the parts using Xpel Stealth. This I figured would give me the factory finished look and PPF protection as well. 


Follow me on Instagram:
@flawless_fitment
@aj_ls460
@aj_lx470 
@aj_sc430