Wednesday, December 27, 2023

LX470 - Prospeed Roof Rack Install

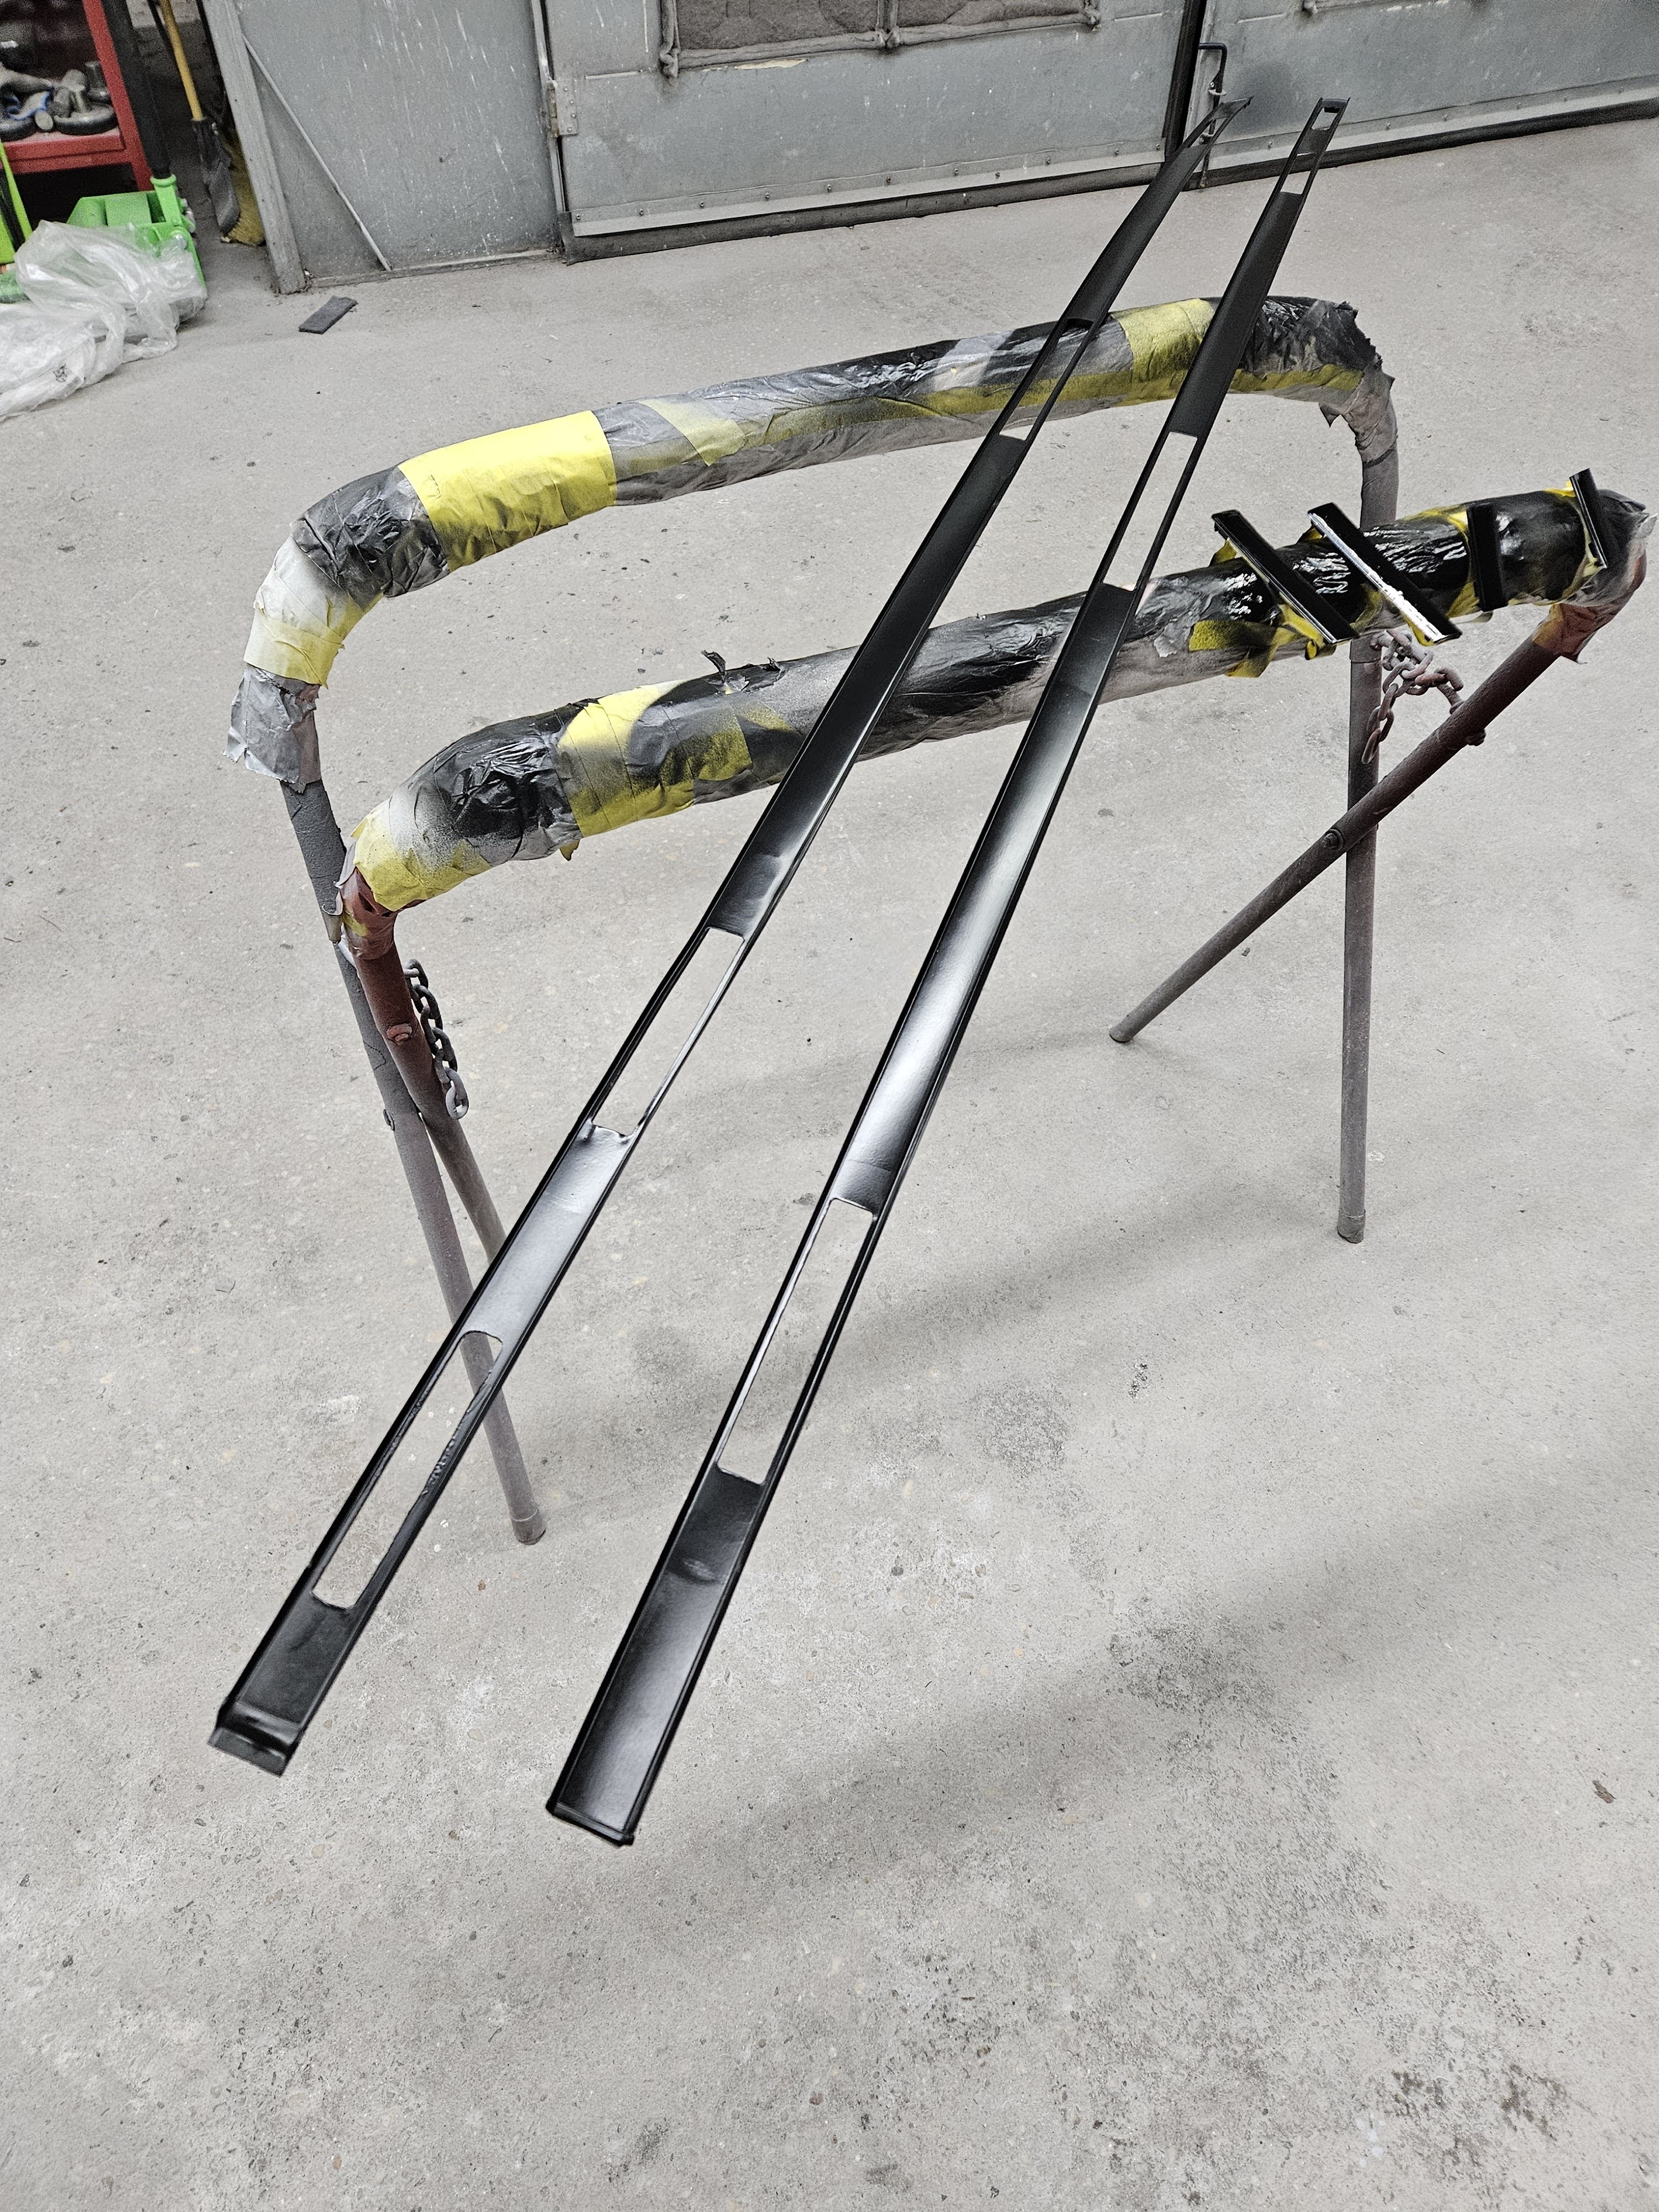
When prospeed came out with the rack for the 100 series I loved the profile of it. Sleek, followed the contours of the truck and thought it looked the best so had bought it. Well over a year later it's time to install it. Installation is not complicated, pretty straight forward, it just took me over a year because I was waiting on painting my truck and wanted to put it on after the fact.

I added a silicone pad to the bottom of the mounts on the off chance the mount touches the body during installation. Yup, I agree, very unnecessary.


I modified the gutter rail covers and trimmed the factory covers for the cut outs for the new bolt locations. Since I was doing that figured it could use a coat of rubberized paint to freshen it up. 


Everything else for installation is pretty self explanatory, only note here would be that there are 12 spacers that come with the rack. 4 taller ones and 8 shorter ones, the 4 taller spacers are to be used for the front mounting points. I just used some silicone sealant to fill in the mounting holes and then bolt the rack down to prevent any leaks. 


I chose the led bar cut out option for the front wind deflector and did have it mounted but the wiring is not long enough to route into the engine bay so need to modify that so that there isn't a plug in the middle of my windshield molding. Would an extra 2 feet of wire too much to ask here? 

Love the roof rack though! 

For the led bar, needed to extend the wiring so ordered some 12AWG outdoor wiring and got to work. Extended the wiring and made sure everything had heat shrink, electric tape and even the sheathing under more heat shrink. 


Trimmed down the cowl enough to clearance the wiring to run down the channel in the windshield trim.


Done with no visible wiring. Now to figure out a switch panel setup to power them up!


-AJ Abraham

Follow me on Instagram:
@flawless_fitment
@aj_ls460
@aj_lx470 
@aj_sc430

Wednesday, December 20, 2023

LX470 - Morimoto Retrofit

 When I got the LX I immediately changed out all the halogen bulbs with HID kits because visibility at night was horrendous. Having HID kits in the low, high and fog lights helped a little but visibility was still not good. After the paint job I thought it was best to tackle this issue. I chose to do a retro fit, nothing out of the box but one that has been done by a lot of other enthusiasts and hence this is not going to be a detailed write up because it is well documented.

I chose to get some pre-made brackets from LBBuiltwerks. The projectors I used were also the ones suggested by lbbuiltwerks which was the Bi-Xenon: Morimoto Mini H1 8.0 Stage III Kit. Some costs can be cut here, you can just get the brackets and the bi-xenon morimoto mini h1 projectors and use a cheaper H1 HID kit but I just chose to do it once and hopefully will last a long time. So the brackets and the morimoto kit was ordered.


Everything went pretty seamlessly, well written instructions by lbbuiltwerks and quality products just makes for a much easier job. Baked the headlights, installed everything as per direction, the wiring is the only part I changed up a little. I had some spare HID bulb connectors which I de-pinned and fed through the  factory cap to make a jumper harness between the ignitor on the outside of the headlight and the bulb which was inside the headlight.


I also chose to tie in the hi beam signal for the low beam to a jumper harness for the high beam. 


Everything was sealed properly and aligned on the truck before final assembly. 


Fresh Morimoto rubber sealing glue was used to re-seal the headlights as well.


When I say that the difference is night and day I mean it! The cut off lines are beautiful and the light projection is wonderfully bright and far. I cannot recommend this mod enough! Very satisfying.


-AJ Abraham

Follow me on Instagram:
@flawless_fitment
@aj_ls460
@aj_lx470 
@aj_sc430

Tuesday, December 5, 2023

LX470 - Windshield re-seal

 After a recent storm I noticed that there was water on the inside of my windshield. On inspection I found that the moldings on the side was held on by screws, which is not supposed to be the case. I also sprayed some soap to the outside perimeter of the windshield and used a a blower from the inside to see that there were a lot of spots where the soap was bubbling up. Which means air is moving between the inside and outside of the windshield. I had also cleaned out all my drains to make sure that wasn't causing any issues. Well called my glass guy and they were able to squeeze me in. I was initially thinking they could just run a sealer on the inside of the windshield to help seal it but they advised me against that. They explained that air/water might be getting in because there was a break or delamination of some sort with the sealant and to properly diagnose the issue the windshield had to come out. Made sense to get to the root cause of the problem and I'm glad I did.


With the windshield out they pointed out where there was surface rust that was forming which was causing the glue to delaminate . Also the glue the previous installer used apparently wasn't the right one because it was hard and brittle. 


All the surface rust was removed and a rust inhibitor was used to help prevent it from happening again. 


I also asked them to use some rust inhibitor around the holes where the molding goes that the previous installer had used screws for. with everything dry, fresh windshield glue the windshield went back on.


I chose to give it a couple of days to make sure everything was cured before the moldings went back on. This also gave me the chance to do the soap & air test again to verify that there were no leaks. No leaks and the cabin felt quieter!! Onto the moldings.

I wasn't sure if the holes for the moldings were bigger since they used screws earlier so I went ahead and ordered an assortment of black aluminum rivets along with the OEM rivets and new moldings. The OEM rivets unfortunately did not fit, the OEM rivets had a rubber collar so when the rivets are compressed the rubber makes contact with the metal to prevent paint wear due to vibration and hence rust formation. To help replicate this functionality I used some RTV in the holes prior to using the aluminum rivets. 


With the outer moldings secured I'm going to wait till I finish doing some wiring to put the inner moldings into the channels to complete the job.

It was a hassle to deal with this but I'm glad this happened sooner than later. The rust issue would've been significantly worse and might have been a bigger hassle to get fixed correctly. For now I believe everything was done right and happy with the outcome.


-AJ Abraham

Follow me on Instagram:
@flawless_fitment
@aj_ls460
@aj_lx470 
@aj_sc430