Picked up a set of CCW Classic three piece wheels. Price warranted the shape they were in and boy did they need work. Let me also state here that this is not for everyone. This took a long time for me to complete mainly because I worked on it when I had some down time between life and my other projects. I was also trying different things to be cost effective during this restoration. I was also in no hurry to get this done primarily because I didn't have a car to put them on yet. Got them pre-emptively for a car that I've had an eye out for.
Started off with a good clean up. Sprayed the wheels down and a quick scrub followed by an iron remover rinse, soap and more scrubbing on the inside and outside barrel.

Took some measurements to verify specs.
After getting the tires dismounted there was a another surprise. The wheels were sealed with RTV, the RTV was everywhere.
This is definitely not how a three piece should be sealed! Well now that the problems have been identified let's try to remedy this. Started by scraping all the RTV with a plastic blade from everything that could easily be scraped off. Went over the barrels with a wire wheel to get the rest of the RTV off.
All the hardware was another story though. These could not be used since the RTV between the threads of the bolts and nuts would affect the torque when trying to torque them down to the right spec.

The bolts and nuts are ARP and when pricing them out they were coming out to be about $120 to $150/wheel. Before I shell that kind of money I wanted to try to see if I can get the bolts and nuts cleaned up, didn't really have a car to put the wheels on so had no time constraint for this. First thing I tried was soaking it in WD40, left it for a couple of days and when I got around to checking on it the RTV was definitely softer, bigger chunks were falling off.

There was RTV between the threads still so moved on to soaking everything in some purple power. Might've helped loosen it more but didn't really come off. Next try was to throw it in a media tumbler using a resin based abrasive. This did great, a majority of the RTV was off with just smaller specs between the threads still. Next thing I tried was to throw it in a heated ultra sonic cleaner for a couple of hours with some purple power. Results were great, loosened everything enough to where everything came off as soon as the bolts were threaded into the nuts. That took some time to thread all the nuts and bolts on and off. Threw it back in the ultrasonic cleaner then a dryer and was super happy with the final results.
Bolts looked practically brand new. Took some effort but saved a bunch of money, not for everyone, especially if you are in a time crunch but can be done.
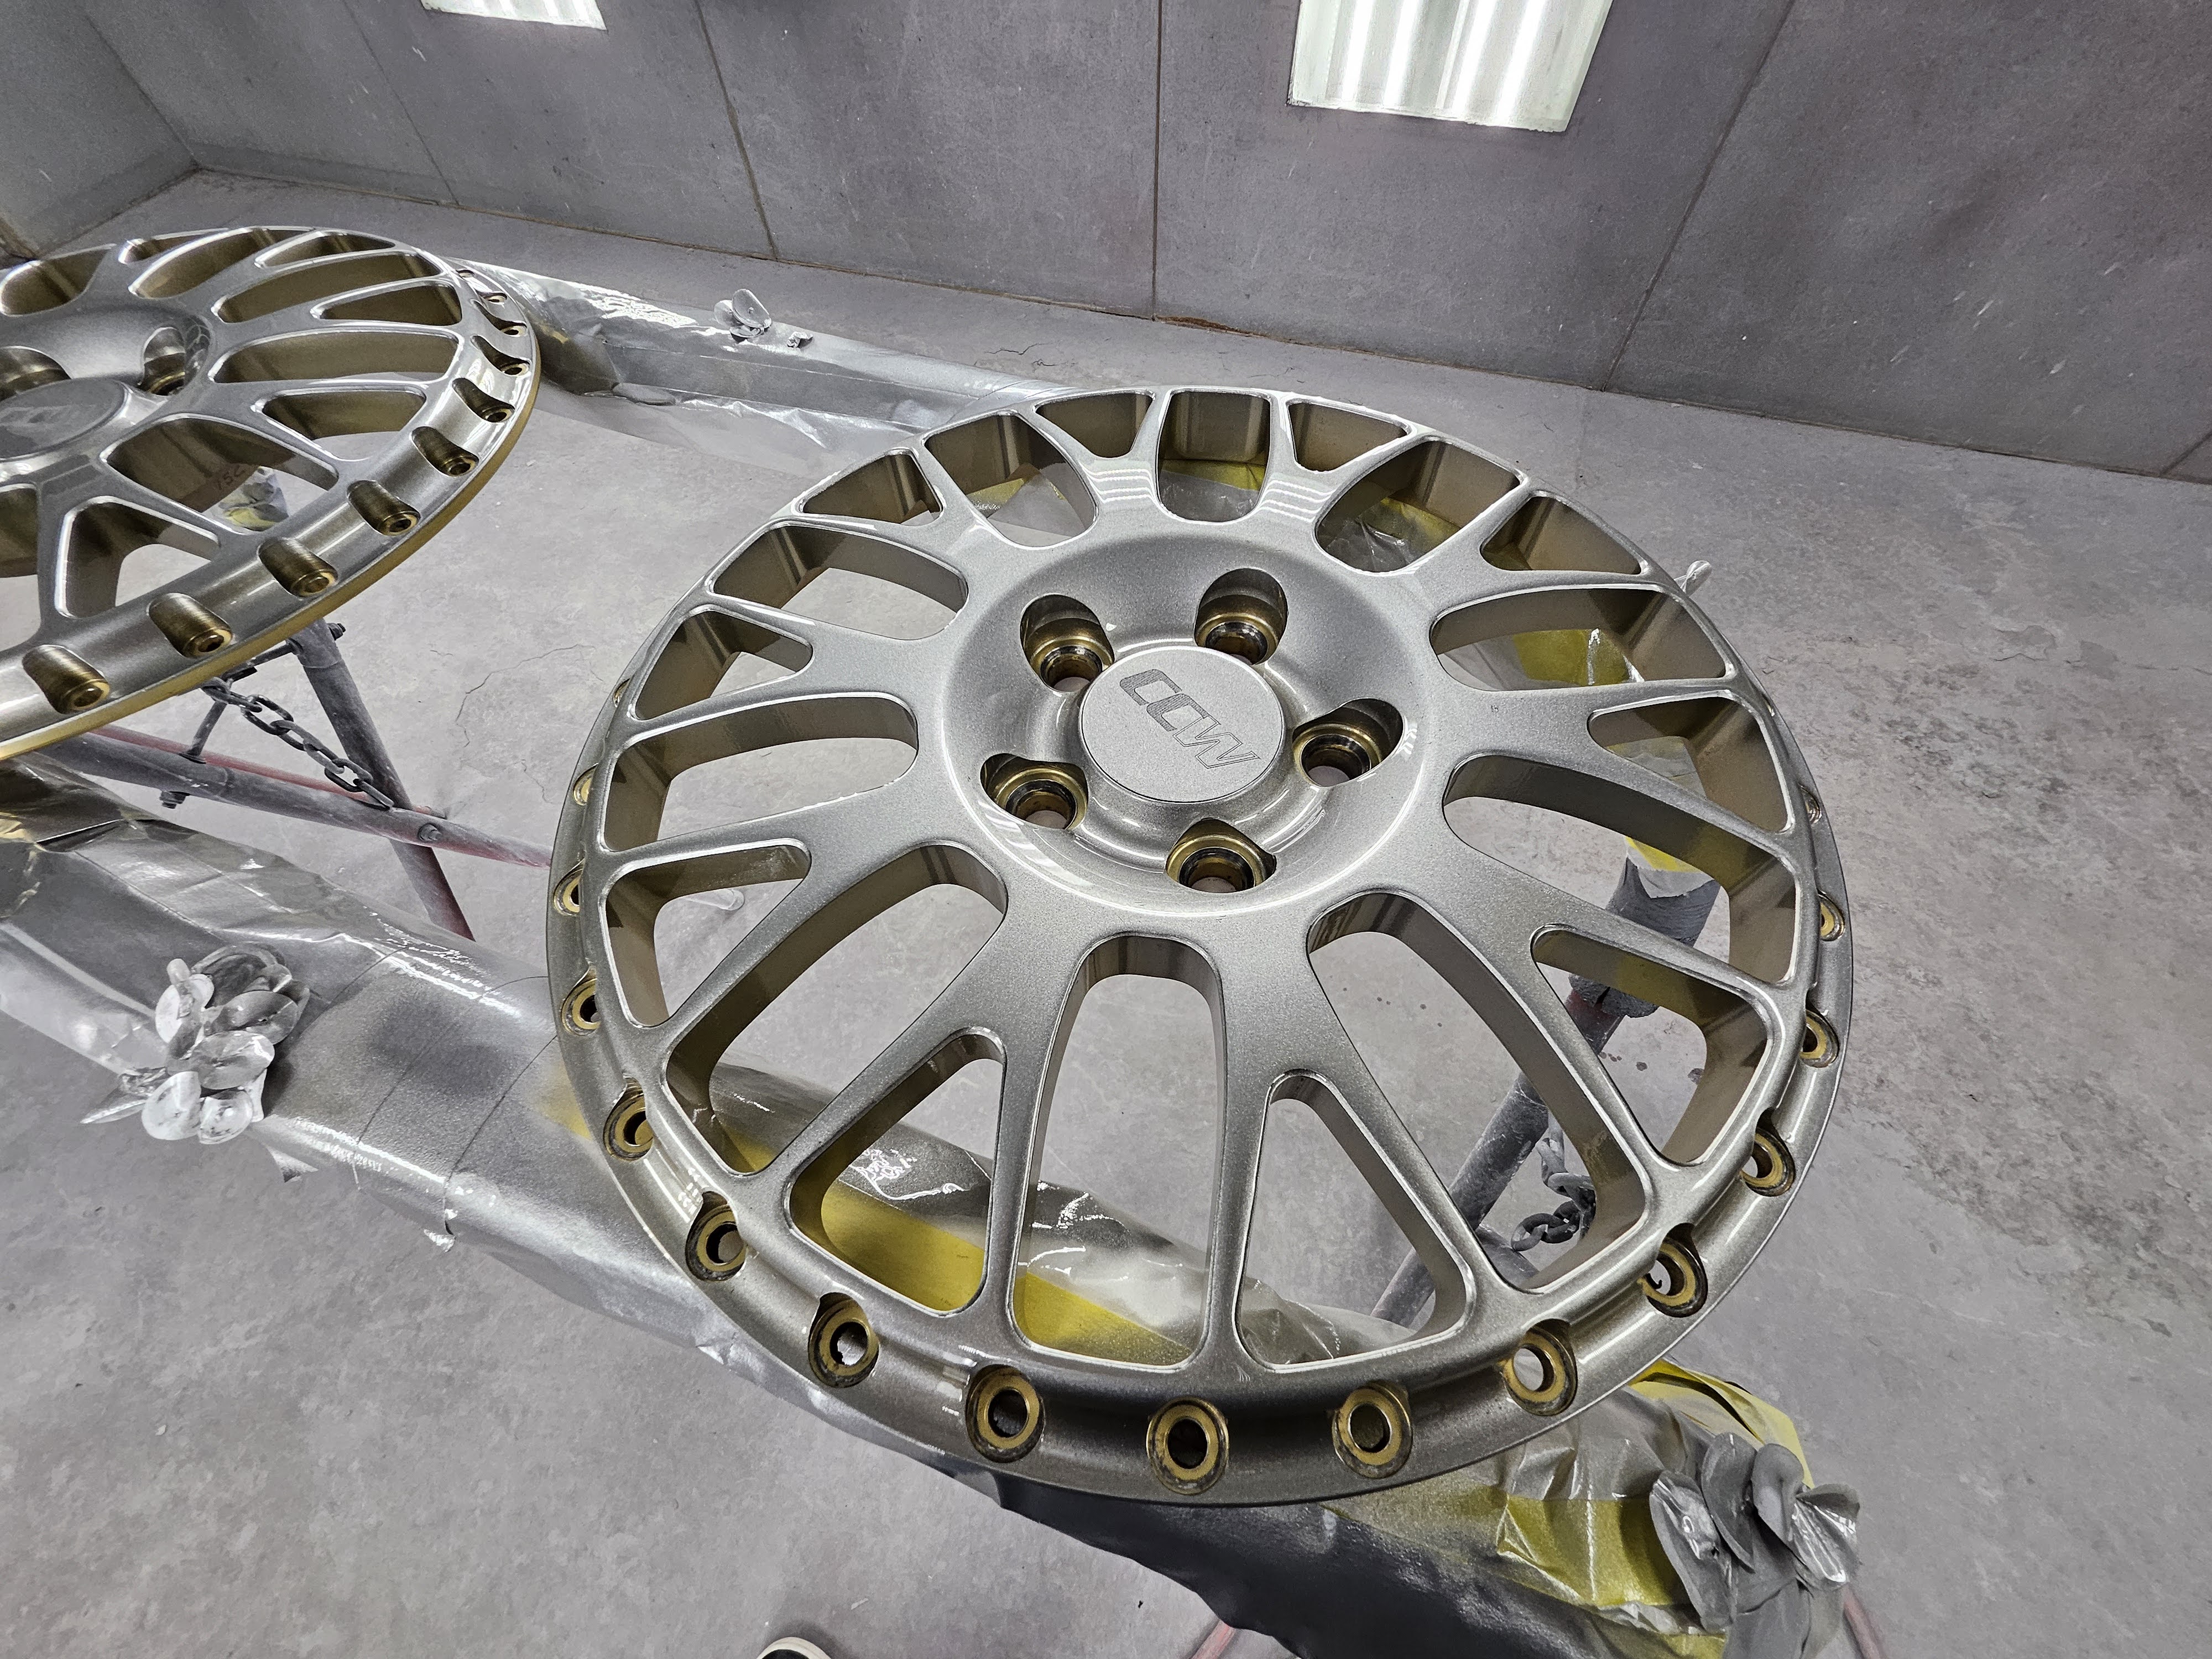
Next I wanted to address the faces. As you can tell from the pictures below, needed some work as well.
Used some plastic blades again to scrape out as much as possible. Followed that by using some different non marring pick set to pick out what could be picked out. There were some oxidization that needed to be addressed. Got some grey 800 grit buffing polishing wheels for a rotary and this worked amazing!!! This was strong enough to remove the oxidization without marring the wheels or altering the finish. The factory finish diamond cut still looking great.
Now the barrels, I waited to do this last because this is where I knew I would had to send it out to get it done right. A couple of the barrels both inside and outside had some slight bends that would need to be straightened out. So before I spent money on doing that I wanted to make sure everything else could be addressed or cut my losses before I went too deep into it. With everything else addressed jumped on the barrels. First I used some maroon scotch-brite followed with a gray scotch-brite on the inner barrels, cleaned up pretty well.
The outer barrel however I tried polishing it up myself and well let's just say that that is a skillset I do not have yet so outsourced that part along with the wheel straightening aspect of it. Saved some money by fixing any curb rashes and pitting on the barrels. Went over the outer barrels with some 220, 300, 400 and 800 as necessary to get everything smooth and ready for polish then handed them over to the professionals to get them polished up.
The faces were gold, and I wanted to keep it protected but did not want to tarnish the factory diamond cut on the wheels. So chose to just clear coat the wheels with a slight tint to darken up the wheels just a tad so the gold is not as bright. To do that I measured all the holes where the bolts sit so there is no variation when torqued down. With the measurements I got some vinyl cut to cover up all the mating surfaces. This is important because I feel that any coating will result in an altered torque spec. Mating surfaces include the 40 something bolt locations that hold the face and lips together, the lug nut holes, center bore & where the wheel meets the hub.
With
The gold you see will be covered up by the bolts and lug nuts! Need to put it together now but look at the preview!!!
So with the parts ready I thought it was best to go ahead and ceramic coat it prior to assembly. Since they have been sitting for awhile I could see a slight oxidization of the polished lip so prior to ceramic coating I wanted to give it a quick polish.
Couple of minutes and it's nice and shiny again. After this step I used a ceramic coating made for raw aluminum I used the DIY details ceramic coating for raw aluminum.
With everything coated it was time for assembly.
I tend to split the bolts into 5 quadrants and then torque the bolts down in a star pattern.
After it was torqued I taped up an created a tape line as a guide to keep the sealant lines clean. It's not really necessary for the functionality of it but I tend to do it to keep things clean. I used an electric caulking gun, I like it better cause I can control the flow.
I also used a grout application tool to smooth out the bead.
All done and looking clean! I let everything cure put another coat of ceramic coating, got a new set of TPMS sensors and mounted some tires!!
-AJ Abraham
Follow me on Instagram:
@flawless_fitment
@aj_ls460
@aj_lx470
@aj_sc430