This has been long overdue. When I acquired the LX470 it came with the delaminating clear coat issue and a paint job was always in the cards as part of the 'restoration'. My buddy's body shop was shutting down for a month for a much needed vacation and they allowed me to use the shop and was going to help get this complete. Thanks Jeremy!!
I've gone through this a couple of times but I wanted to try to do a lot of the work myself this time and boy did I bite off more than I could chew. This has been a long process and it took me almost 3 weeks of working on it everyday after work like a second job. Body work was clearly not my forte and I still need to do things multiple times to get it right.
The plan here was to paint everything from the molding up for a couple of reasons. I still am not sure if I am going to do a front and rear bumper change. Also, if I do keep the bumpers then it's not that hard to just paint the bumpers and caps. I also like the two tone currently, but I also like it when it is all one color. Since I am undecided it'll be easier for me to just address the moldings up for now and decide later as things progress.
Started off with a full wash and degrease of every nook and cranny to try to get rid of any contaminants including the under carriage. Removed all the parts that can come off the car like roof rack, headlights, tail lights, moldings, side mirrors door handles etc. Then got to sanding to get rid of all the old paint off down to the factory primer/sealer. Everywhere there was rock chips and wherever it required body work took it down to metal to get rid of any surface rust etc. All the bare metal surfaces got a coat of Ospho metal treatment to prevent rust.
After multiple tries to get the body work right I wasn't a 100% satisfied. I asked another friend who does body work to just look over my work and he did!! He fixed up whatever needed to get fixed up and after multiple spot priming, surface preps and sanding, got the car and all the parts in primer.
Gave the car a couple of days to cure and then with guide coat applied got back to blocking the car with 400 grit sandpaper to make sure everything was levelled out. With everything leveled out, it was time for a final wash, degrease and prep for paint. With the car in the booth the plan was to break up the painting into different sessions. Before paint, the parts were wiped down with prep solution and a tack rag to catch any loose dust particles. After prep, the parts were sealed and multiple coats of base and then multiple coats of clear was applied. First session was to tackle the roof and tailgate.
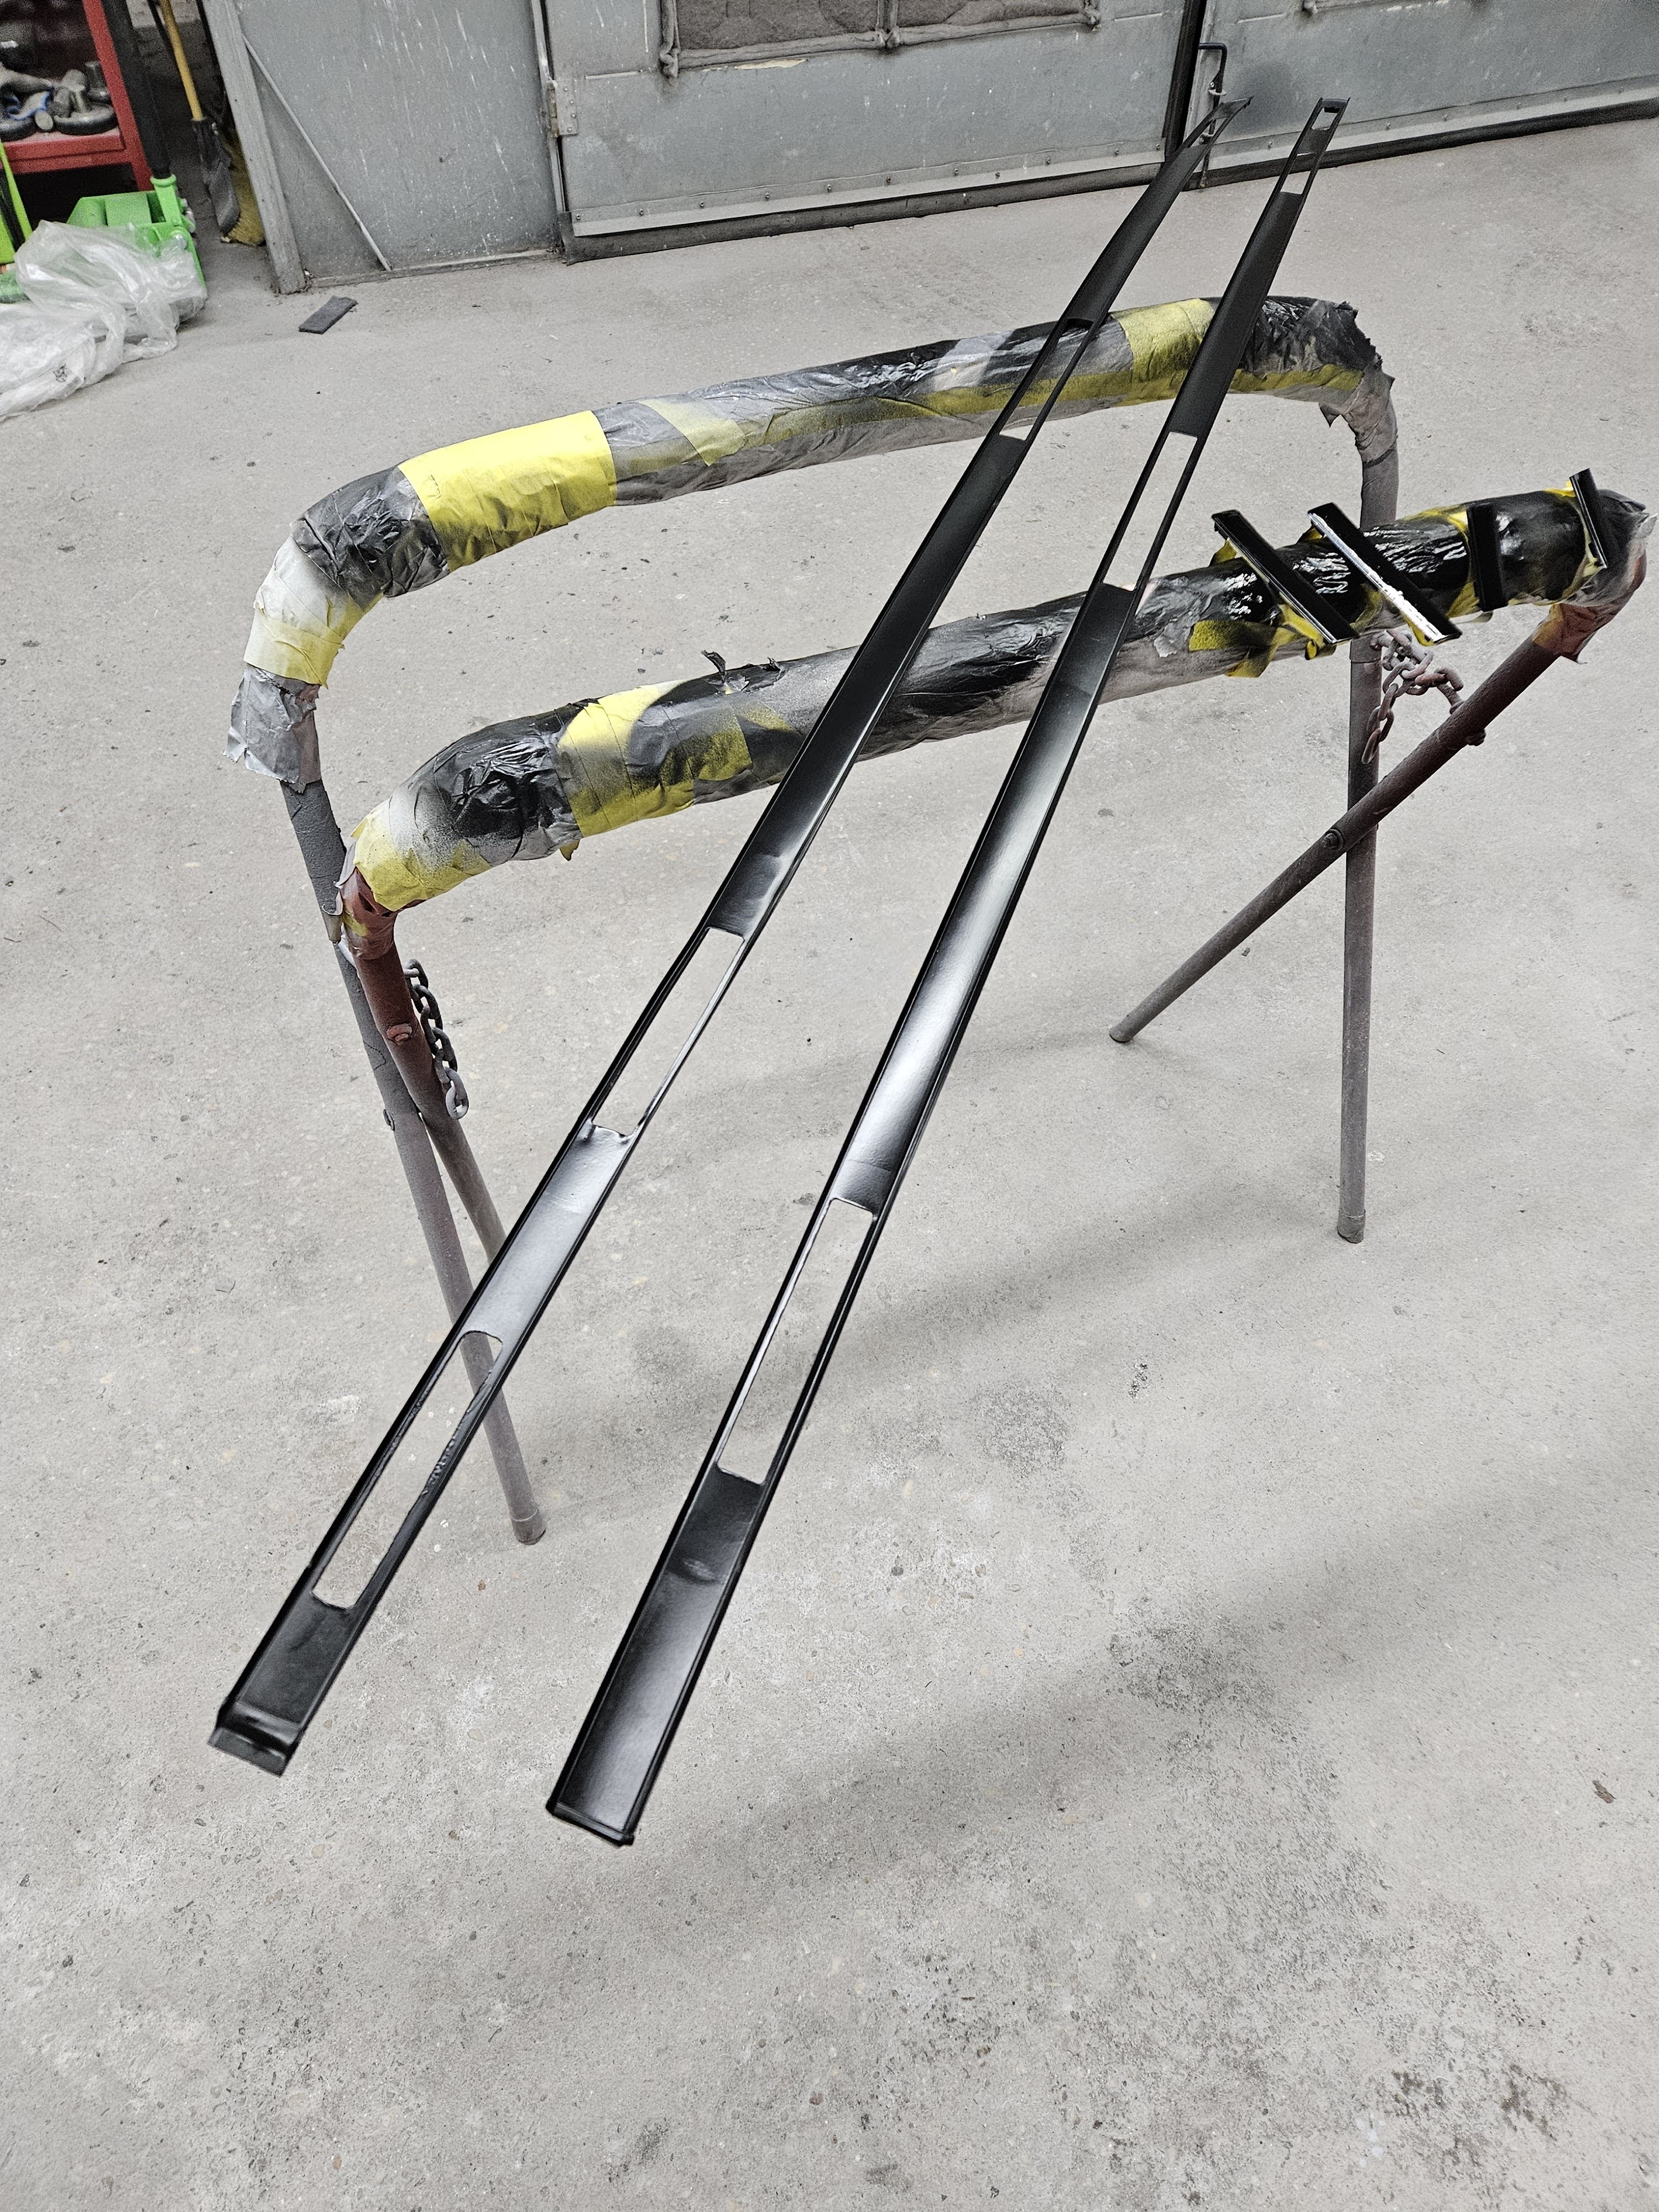
Second session was the hood and all the parts that came off the car.
Third session was to cover the left and right side.
With everything painted, gave it a couple of days to cure before reassembly. Every single part that went back on the car was thoroughly cleaned and all the plastics got some conditioner. The tail lights, fog lights and side markers even got a polish before going back on.
Having gone through this with a more hands on approach I completely see how a good paint job costs thousands of dollars. Understanding the steps to achieve not just the initial outcome but also longevity will lead you to prep everything accordingly. Prep and using the right materials at the right steps will assure longevity and a clean job. I think I have over a 100 hours in just getting the car ready for paint and that's not including the hours my friends helped me.
I don't think this car has ever been this clean since it left the production plant. With all new moldings etc. I couldn't be happier with the outcome. Now to go ahead and mount all the accumulated parts on the car!
-AJ Abraham
Follow me on Instagram:
@flawless_fitment
@aj_ls460
@aj_lx470
@aj_sc430