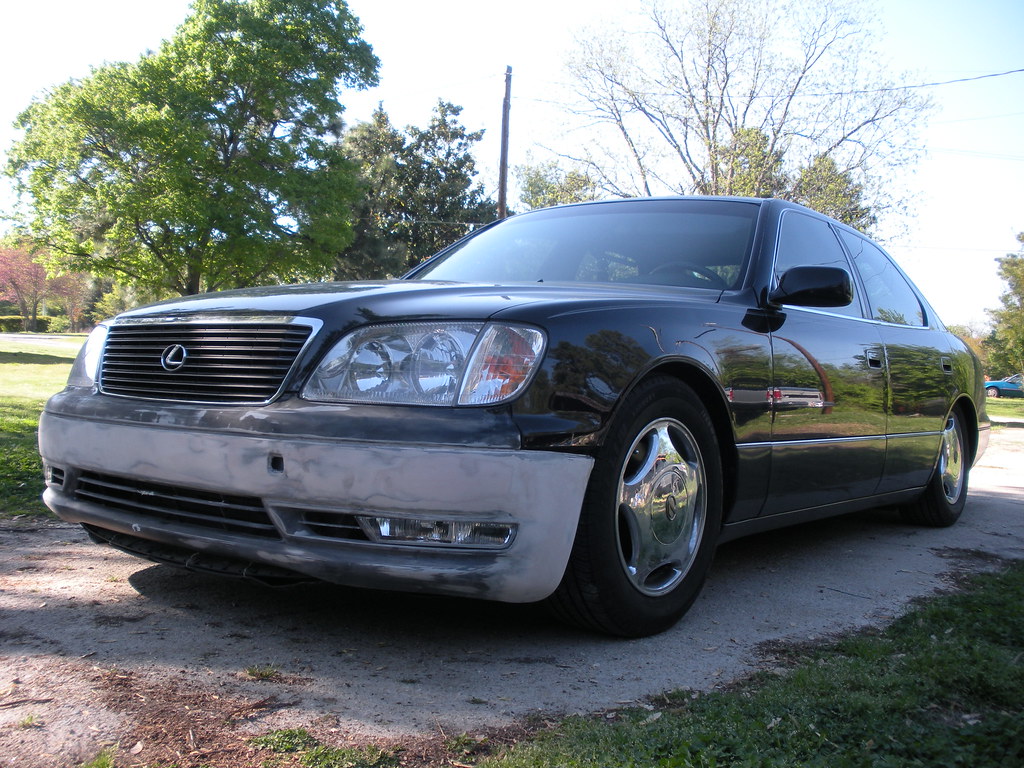
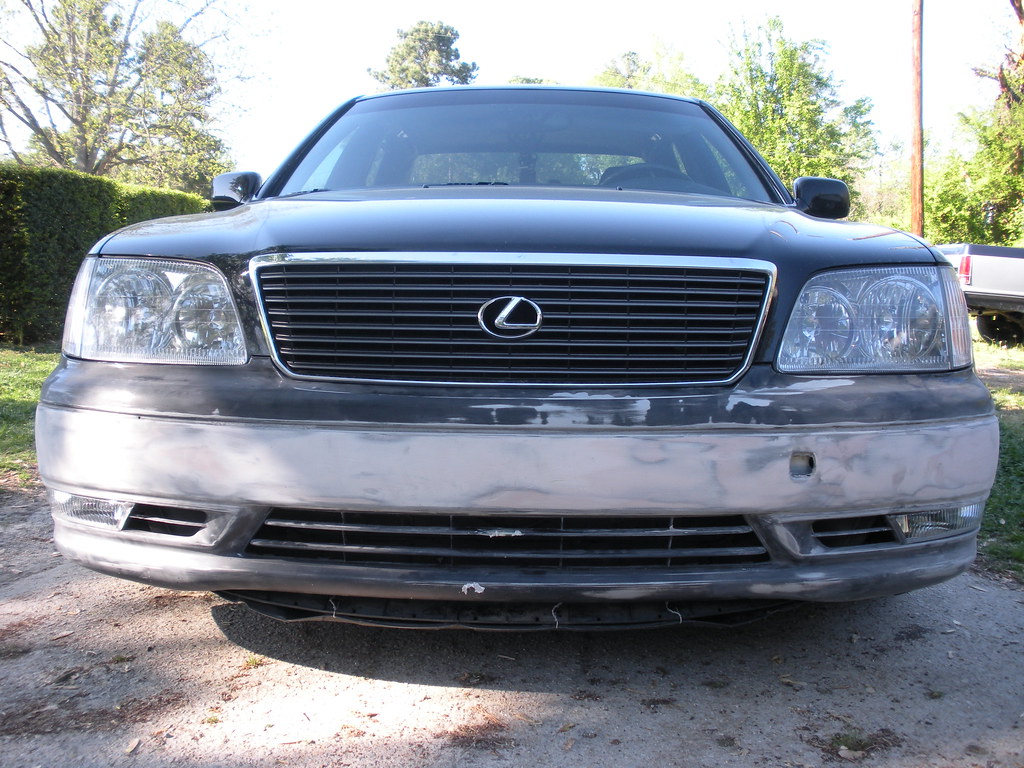
Before I got my 1998 LS400, I really wanted an 04-06 LS430 because I was in love with the streamline foglights that came with it. Since the LS430 was out of my budget, I went for the next best thing and got the after MC LS400 instead. Since I still couldn't get over how nice the LS430 foglights looked, I decided to take the bottom half of the LS430 front bumper and merge it with the top half of my LS400 bumper. Here's how we did it:
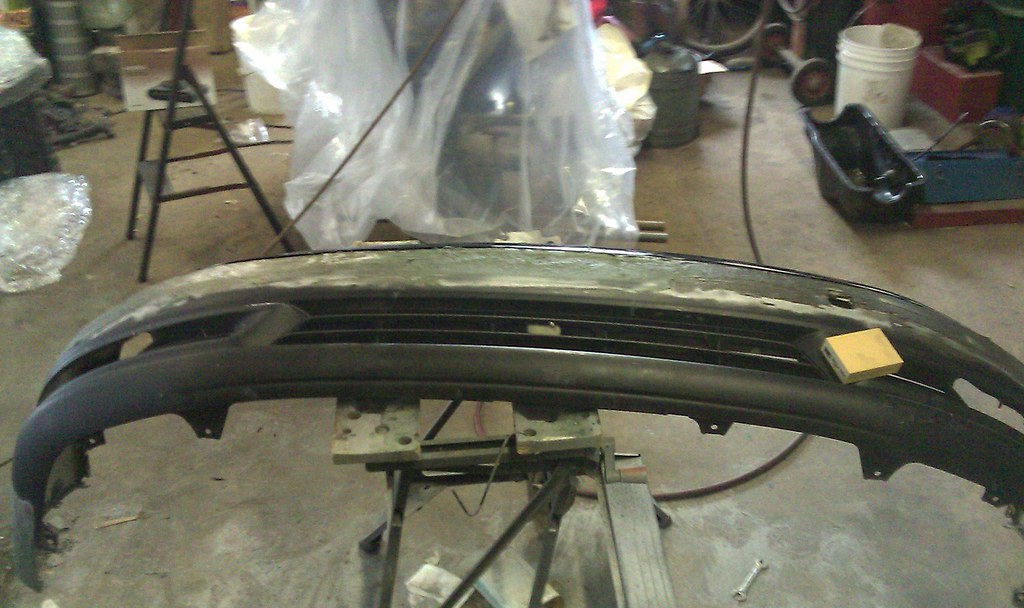
Both bumpers, LS400 on top and LS430 on bottom:

We taped off the line where we wanted to cut the bumper at:
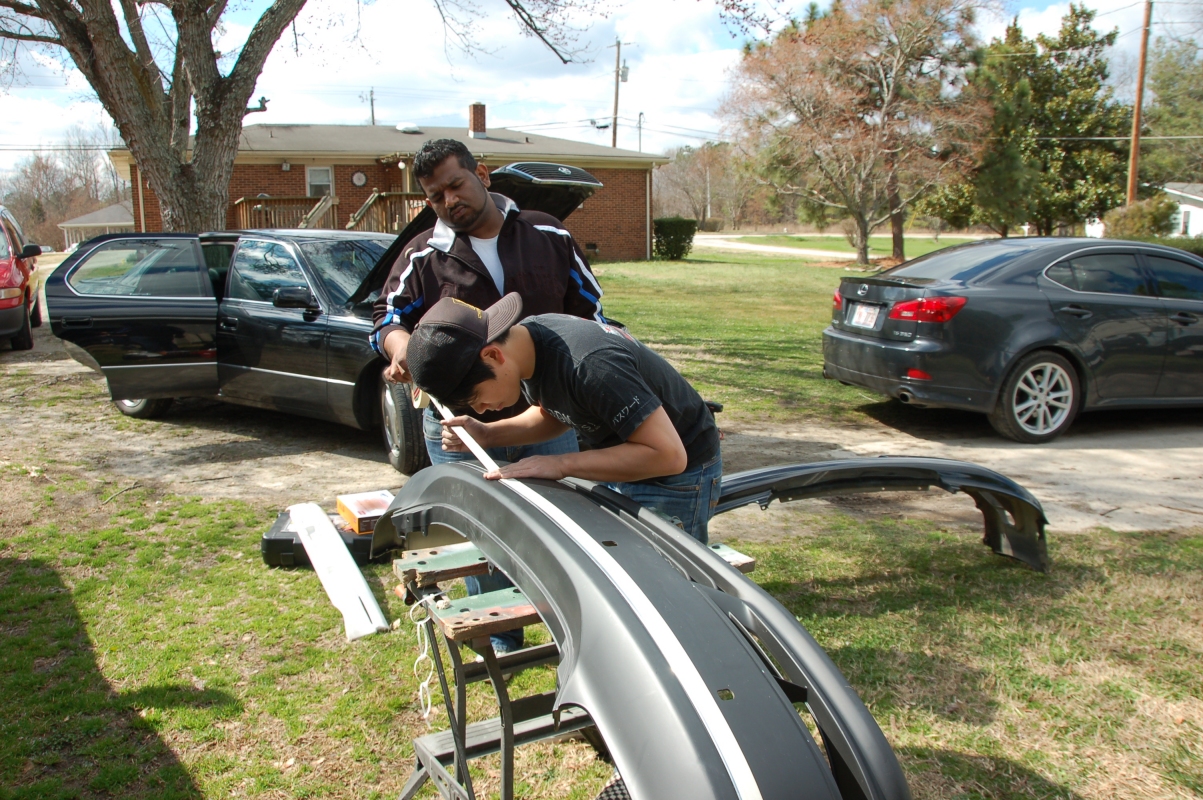
We used an air powered rotary cutter, but you can use a dremel:

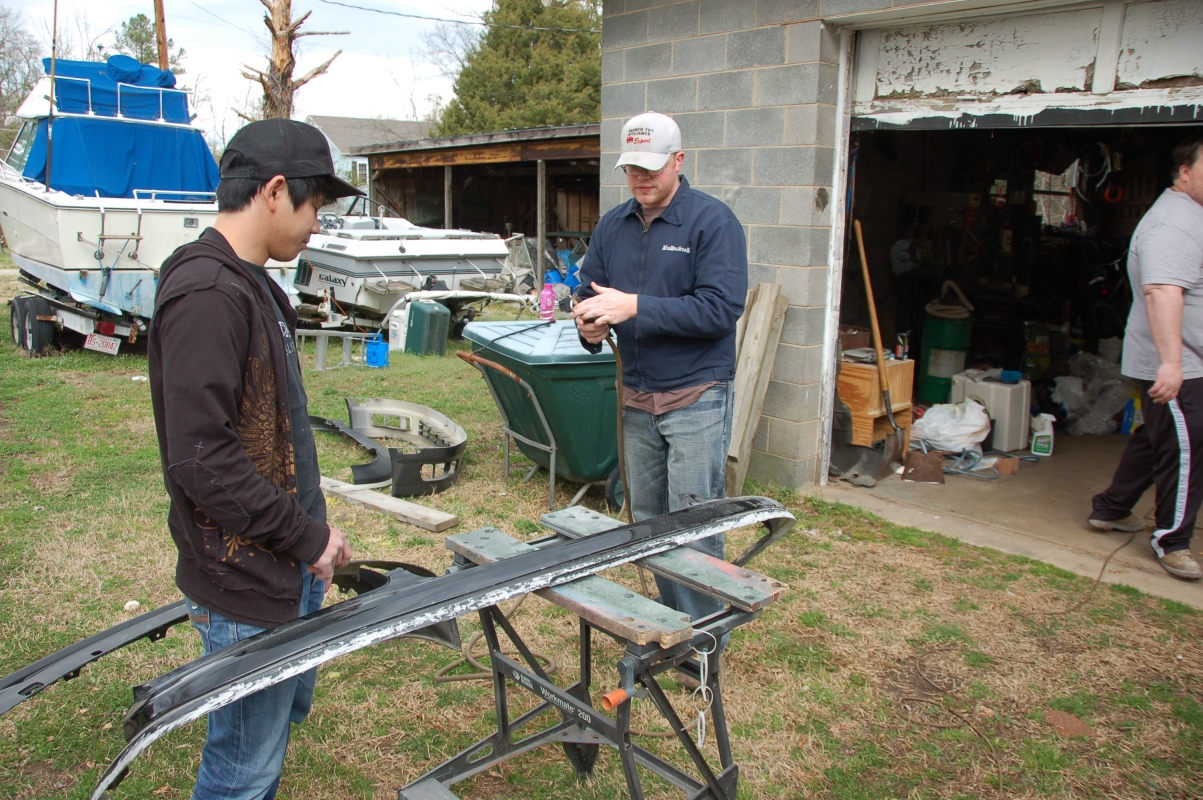
Test fitting the LS430 bottom half:

We realized that the LS430 bumper was shorter on the sides, so some custom work would have to be done:

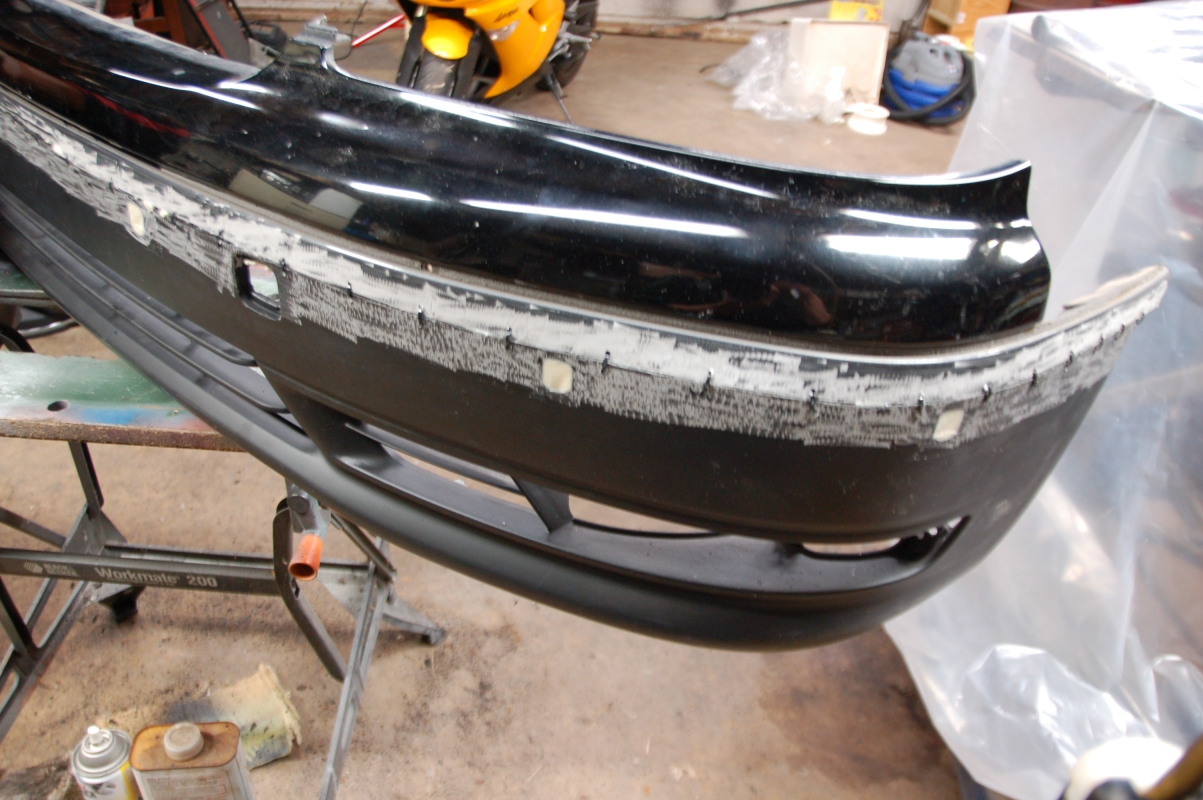
We retained the top part of the LS400 bumper where all the mounting holes to the radiator support and the bracket to the fenders are located.
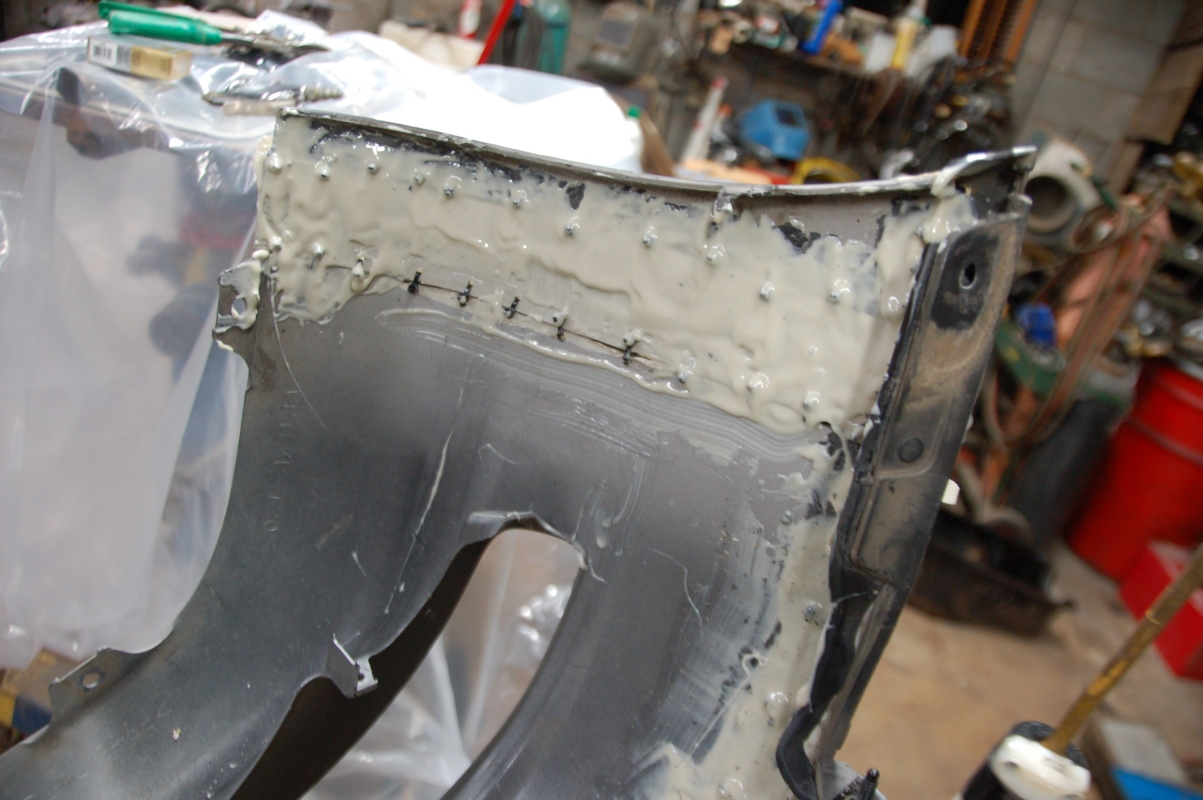
We used the side of the rotary tool to score and roughen up the edges for better adherence on the area where the two bumpers meet up together.

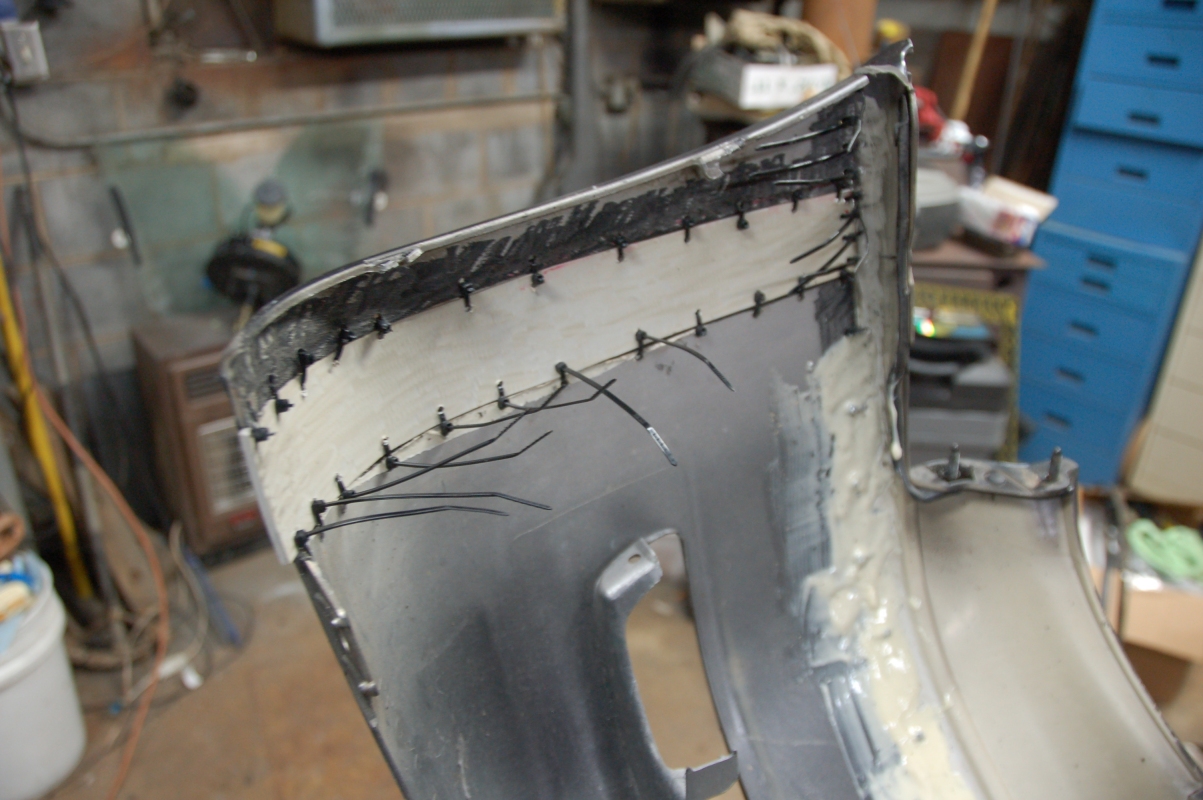
To connect the two pieces together, we threaded zip ties through them about 1.5 inches apart.
In the back side, we used a compound called "Lord Fusor 100EZ", which is a plastic/polyurethane body repair adhesive. The best part about this compound is that it has flex agents in it to allow it to take some abuse.

To extend the sides on the LS430 bumper to match the lines on the LS400, we took a donor piece from the LS400 bumper that we didn't need and used the end piece on the LS400 bumper and threaded together with zip ties.

Then we taped it off from the front and laid more Fusor on the back side:
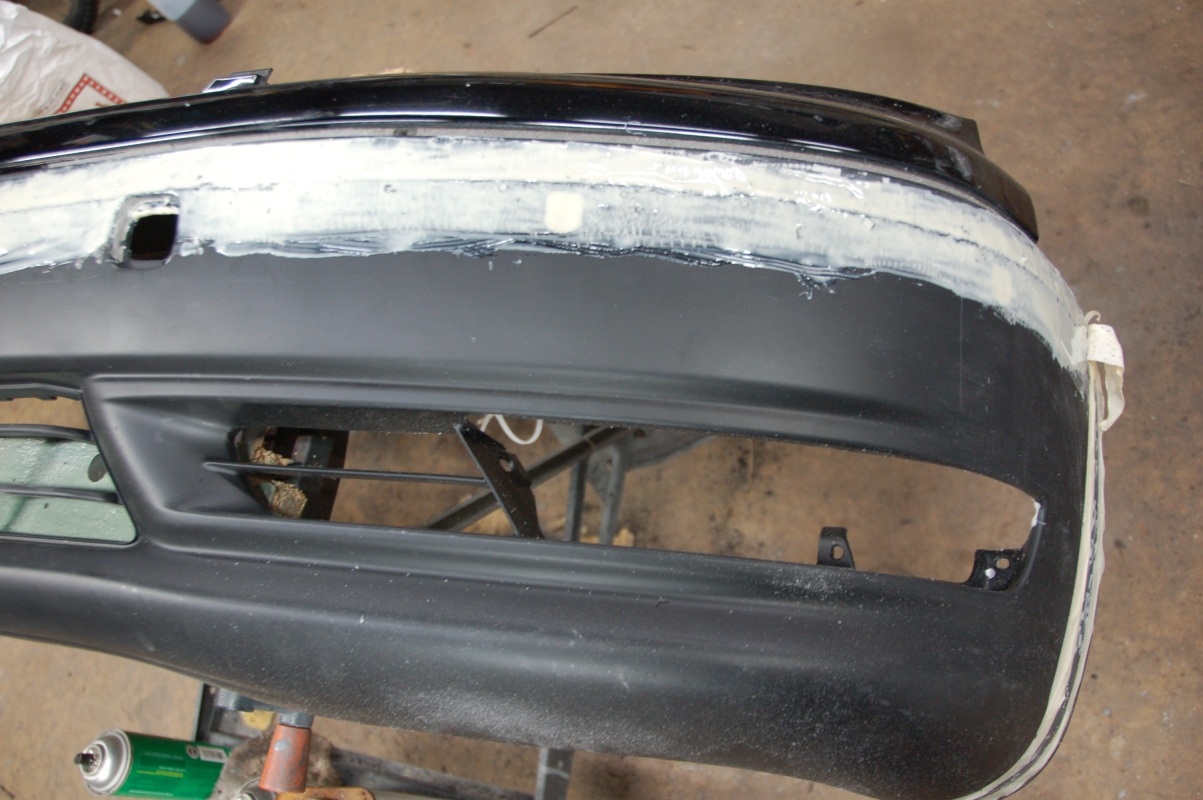
It takes a couple of hours for the Fusor to cure depending on temperature and humidity. After it hardened, we removed the zip ties from the front and filled in the stock mounting holes that came on the LS430 bumper.
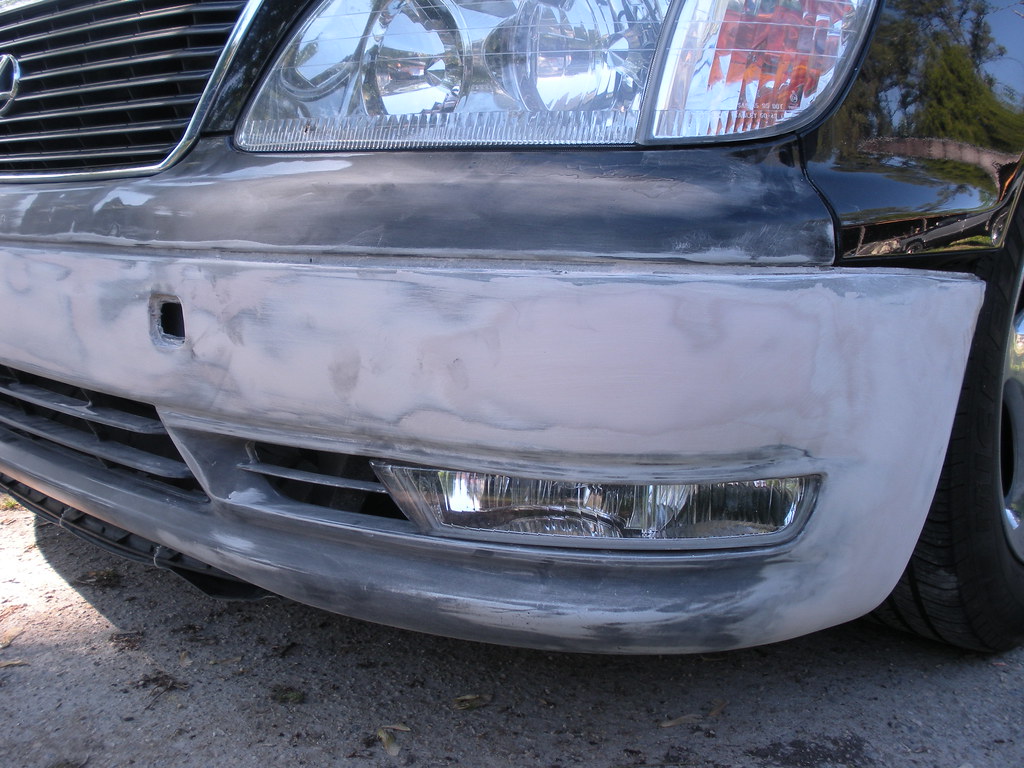
We then laid a thin layer of Fusor on the front side. We made sure we cut above the Tow hook access hole, because retaining that gives the bumper a stock look.
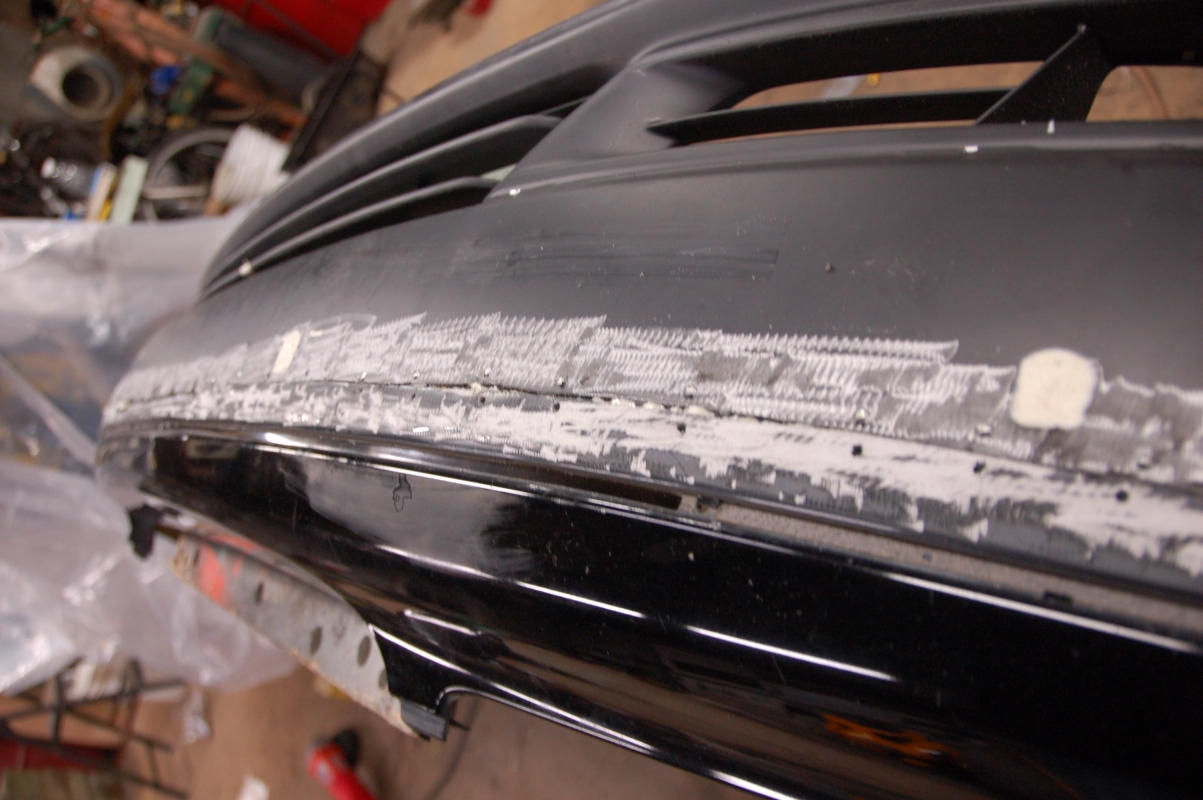
We then laid on Tiger Hair bondo on the front side to start smoothing it out.

Then we added a final coat of glaze for the finishing smoothness.

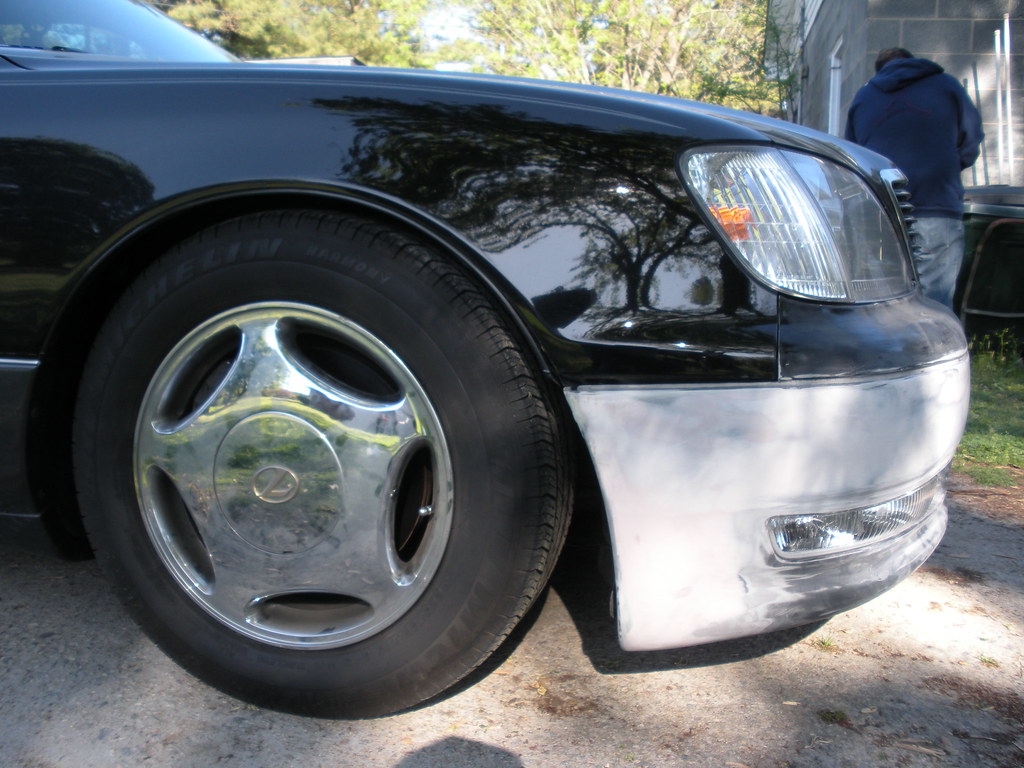
Here's the first test fit with the fog lights on. We wanted to make sure the bumper matches the lines on the fenders.
God I love these fog lights:
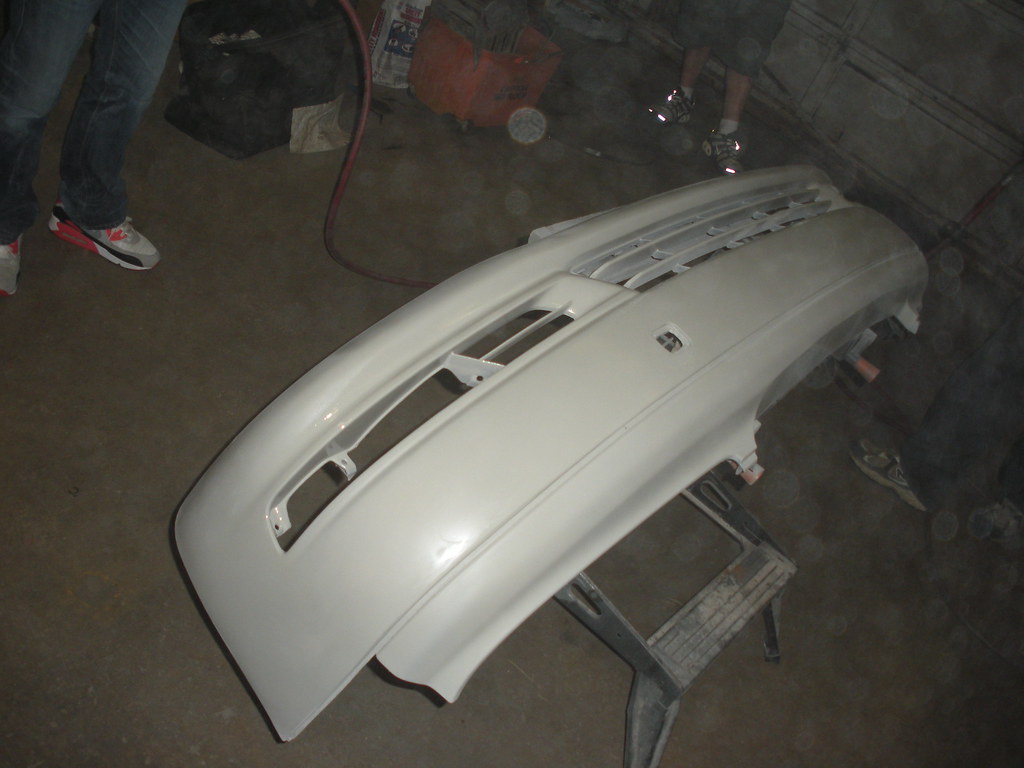
After sanding everything smooth, we primed it:
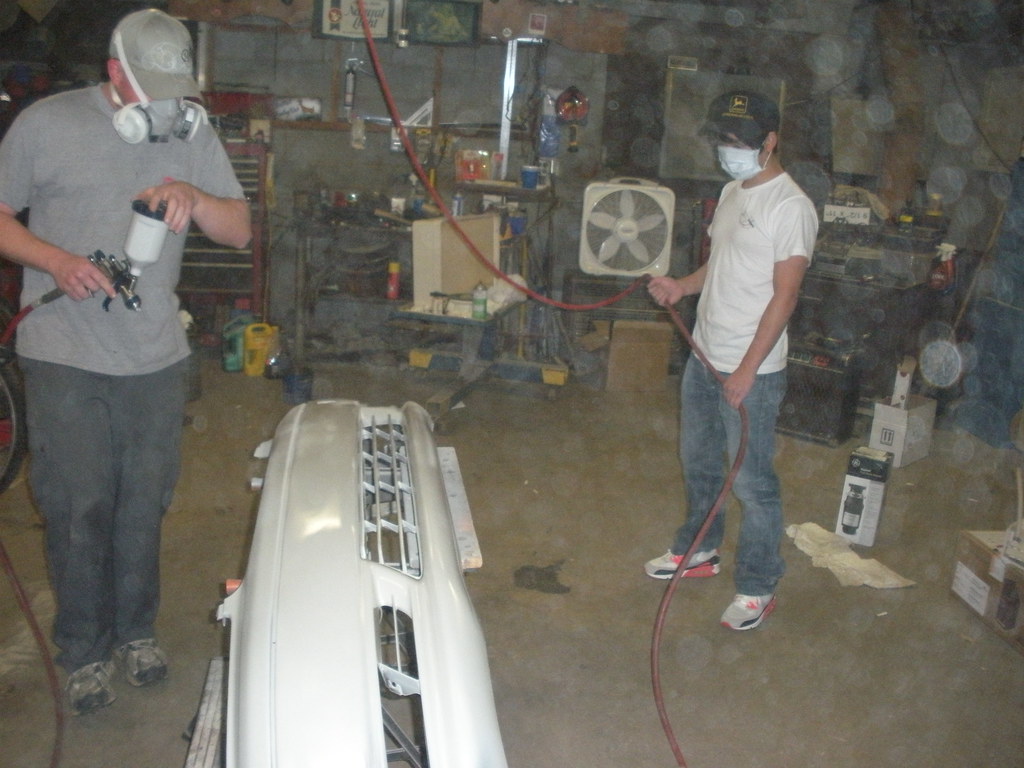
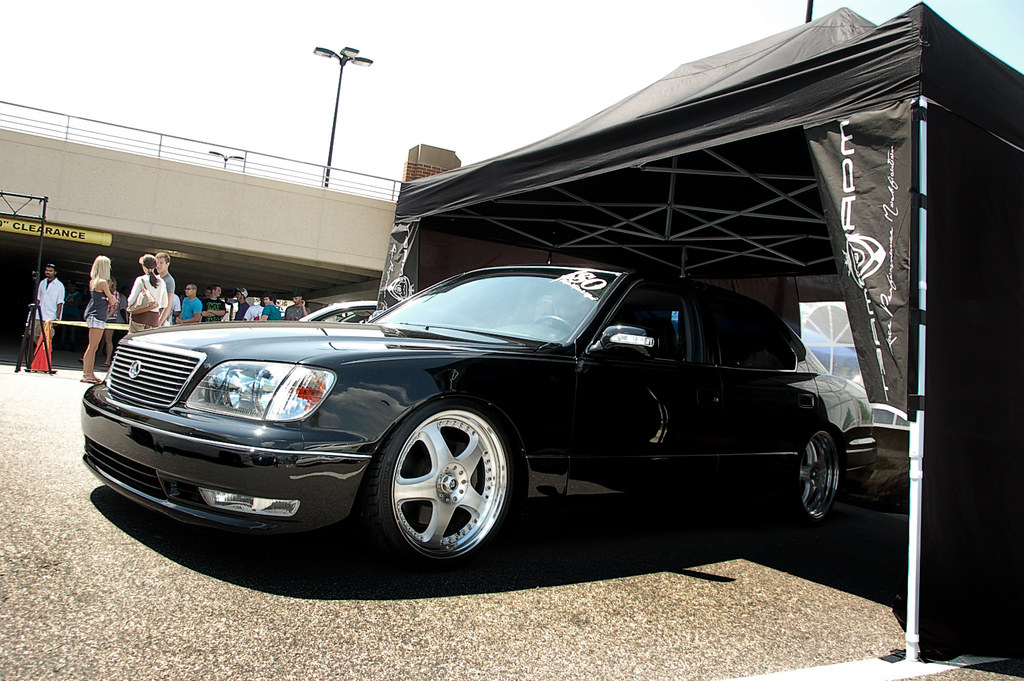
Then we painted it, threw some wheels on, lowered it, Coupled it with Wald sideskirts and rear lip........and BAM! Easy huh?
Great job. I'm considering doing something similar. How did you get the zip-ties to be flush on the surface? I'm concerned that the zip-ties will stick out too much. Did you counter sink?
ReplyDeleteThey cut them off and then filled the holes
DeleteWhere are you guys located? I wanna merge a 2007 LS 460 front into a 2013 LS 460 front bumper and grill setup
DeleteThis is a great post and will be useful to me down the road! was fiberglass used at all or anything along those lines?
ReplyDeleteno, I didn't have to use any fiberglass aside from the kitty hair bondo, which is fiberglass based.
DeleteJust randomly came across this while researching an idea. Dope work.
ReplyDeleteWell done
ReplyDeletewant a bumper and grill 4 2013 Altima open grill like lexus with a custom grill
ReplyDeleteFantastic job. Im under going this shortly. I've worked with FG an some CF way back in the days. So i "should" be able to figure it out. I will modding a 2017 5.0 mustang GT bumper probably half fir half with my 07 LS460. If anybody has any better or cheaper ideas hit me up at tyrhinosaur@yahoo.com thx!
ReplyDeleteBeautiful job, very creative. Opens a whole new world for me, anything's possible! Thanks so much!
ReplyDeleteI see all the pictures you mentioned on your blog. And that really impressed me. You have great knowledge of this. Please share more information with us.
ReplyDeleteFront bumper protector
I read this article, it is really informative one. Your way of writing and making things clear is very impressive. Thanking you for such an informative article.
ReplyDeleteFront bumper protector
I must thank you for posting this blog because the topic is very much in demand today and everyone wants to read about writing notes. Great content about bumpers. Used Buick Engine
ReplyDeleteWow your post is really very useful thanks for sharing. Its really informative. keep sharing more with us. we also provide service for truck bumpers canada. for more info visit our website.
ReplyDeleteYour post is very informative for me. excellent article, I really like this post and thanks for sharing. we also provide service for off road bumpers. for more info visit our website.
ReplyDelete